advertisement
How to Make Rainbow Bath Bombs at Home Post Preview: Follow some easy step-by-step directions to make your own homemade rainbow bath bombs to give as gifts or keep for yourself.
Bath time can be extra special when you’re using your own unique additions to the bath. Bath bombs, in particular, are such a fun addition! They smell nice, look cool, and kids love them. I don’t normally take baths and bath bombs even have me thinking about bath time.
While you can find some slightly more reasonable options, bath bombs can be expensive. So, why not try your hand at making some at home?
Not only can you make them exactly as you want them at home, but you also get the satisfaction of having made it yourself. I know that I love that and so do my kids. There is a unique joy and pride in making something that you could have purchased.
I’m going to give you a recipe for rainbow bath bombs plus step-by-step directions for making them at home. This is a great project to do on your own, with your kids, or to allow older kids to do on their own (depending on their skill level in the kitchen).
")
advertisement
Related Projects:
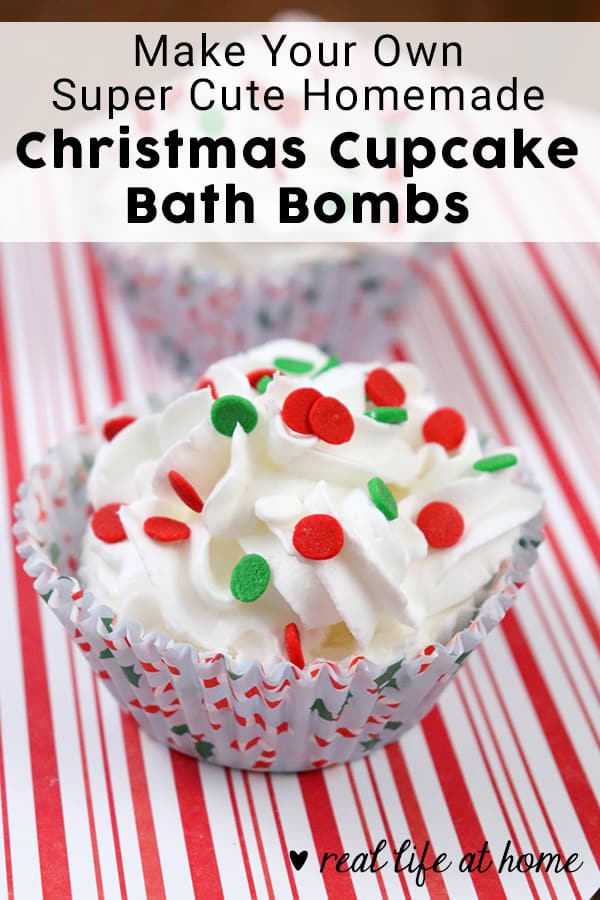
- How to Make Super Cute Homemade Cupcake Bath Bombs
- How to Make Homemade Scented Playdough in Fall Scents: Apple, Green Apple, Pumpkin, and Cinnamon
- Easy Peppermint Bath Salts Recipe with Free Printable Gift Tags
How to Make Rainbow Bath Bombs at Home
Just follow the directions below and you’ll be making bath bombs in no time. These make a great Christmas or birthday gift as well, so you might want to stock up on supplies. Once you make one, you’ll want to make more!
Ingredients Needed for Rainbow Bath Bombs
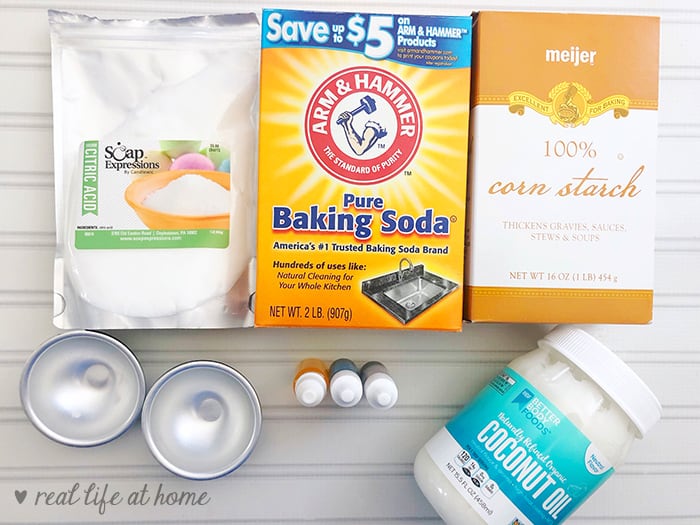
- 1/2 cup baking soda
- 1/2 cup citric acid
- 1/4 cup melted coconut oil
- 1/4 cup cornstarch
- Therapeutic grade essential oil (like peppermint or lavender-scented) – here is a big set that includes both essential oils for soaps as well as bath soap colorants
- Bath soap colorant: red, yellow, orange, green and blue. (Here is a great, inexpensive set that includes both bath soap colorants and bath bomb molds, plus more!)

![]()

![]()
Additional Materials Needed for Making Bath Bombs
If you would like your bath bombs to have that traditional ball-shape, you’ll need to purchase some circular bath bomb molds. (If you follow that link, you’ll see there are lots of other types of shapes as well if you want to experiment.)
I would recommend having more than one bath bomb mold, especially if you want to make a bunch at the same time.
You will also want some plastic gloves to use while working with your coloring agent.
Directions for How to Make Rainbow Bath Bombs
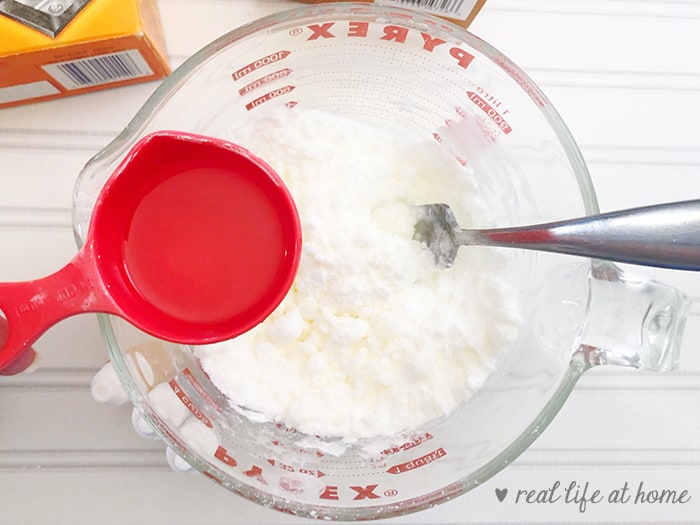
1. Mix together the baking soda, citric acid, and cornstarch. Make sure that they are well blended before moving on.

2. Add a few drops of your chosen essential oil to the melted coconut oil.
3. Slowly mix in small amounts of your coconut oil at a time so the mixture doesn’t fizz.
4. Use a 1/4 cup measuring cup to divide the bath bomb mixture into five separate bowls. Of course, if you have fewer colors to add, you can use fewer bowls. Have one bowl for each color.

5. Add a few drops of each color you are using to each bowl, making each bowl a different color.
6. Wear plastic gloves and then mix the color into the mixture in each bowl with your fingertips.
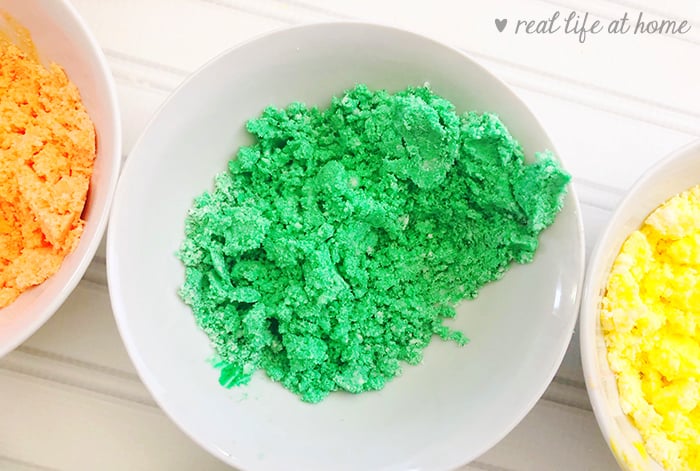
If the mixture seems too crumbly and won’t stick together if you try to push it together, you can spray it with a couple of squirts of witch hazel to try to help it stick together better.
7. Open the bath bomb molds face up, add red to one side and blue to the other side. Only fill the mold a little over 1/3 full on each side.
8. Then add orange on top of the red and green on top of the blue.
9. Add yellow to the remaining room on both sides. Add at least a tablespoon extra to give it a slightly heaping appearance to help the two halves come together.
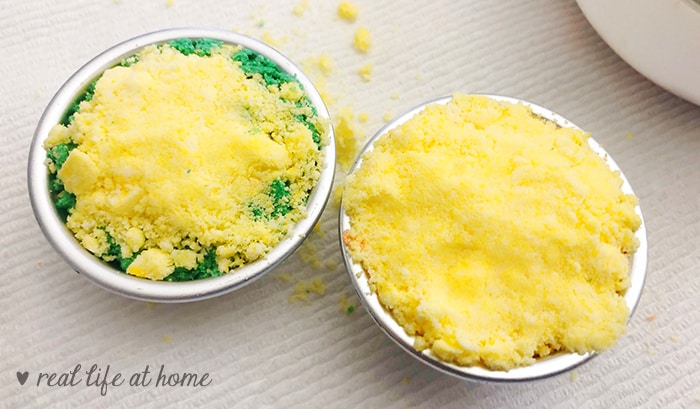
10. Press the molds together tightly. Allow the bath bomb to sit in the mold for at least a few minutes, although a longer time would be better.
11. Carefully remove the rainbow bath bomb.
12. Set aside to dry overnight.

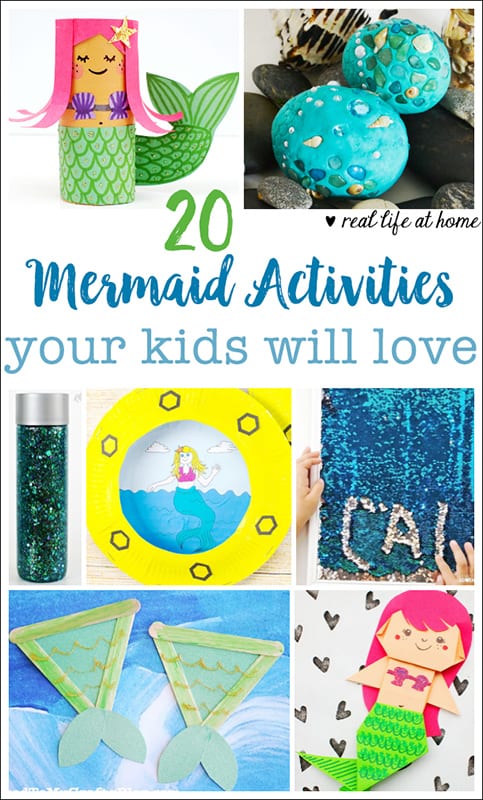
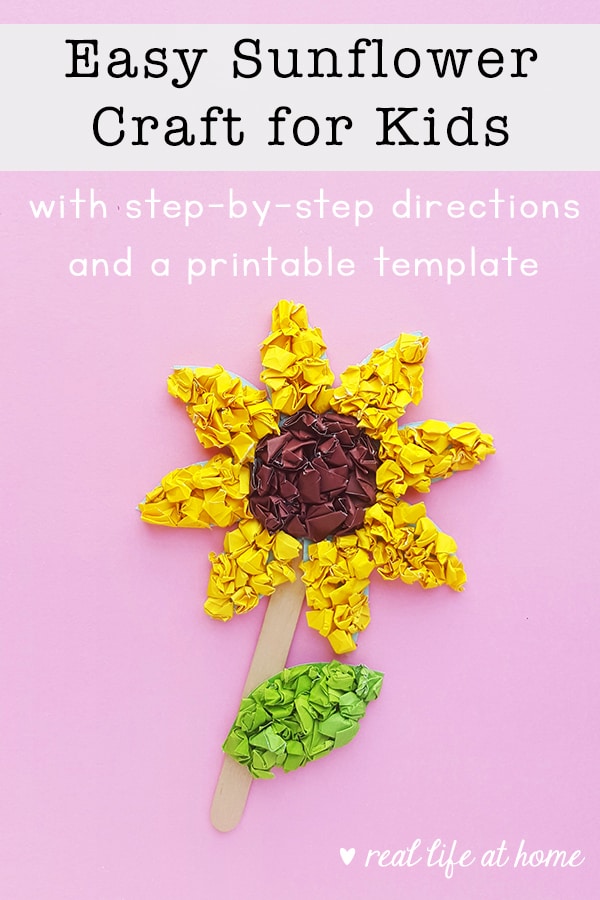
More Projects to Do with Your Kids
Disclosure: This post contains affiliate links. They don’t change the price you pay. However, when you shop through them, we may receive a small compensation.

Join 40,000+ Other Awesome People
Subscribe to the Real Life at Home weekly newsletter to get our latest content, exclusive free printables, learning activities, and ideas for celebrating with your kids all year
Awesome share.!!!!!!!!
These are awesome! Do you happen to have an already tested ‘recipe’ that adds Epsom salt?
Thanks!
Kelley