advertisement
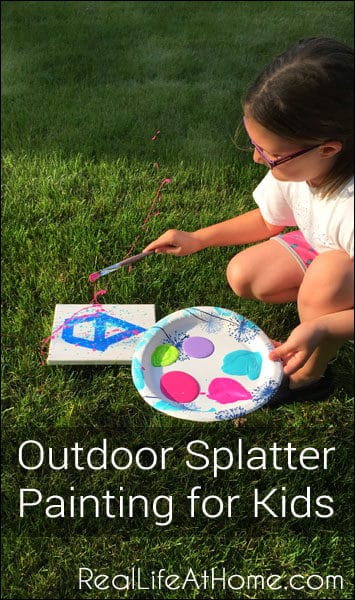
Outdoor Splatter Painting for Kids Post Preview: Here is a fun and inexpensive painting activity to do outdoor with kids. This post includes supplies you’ll need and directions for this kid-friendly project.
(Outdoor Splatter Painting for Kids was updated in April 2020. It was originally published on July 3, 2015.)
Painting can be such a fun activity for kids! Of course, it can be a messy activity and, therefore, something that parents sometimes avoid. I know that because I avoid that mess sometimes too, even though my kids are older.
Since the weather is getting warmer, I have a fun painting activity that will leave most of the mess outside while also being something that your kids will love. Score!
advertisement
Related Reading:
- Blue Ombre Side Table Project (kid-friendly, good as a 4H project)
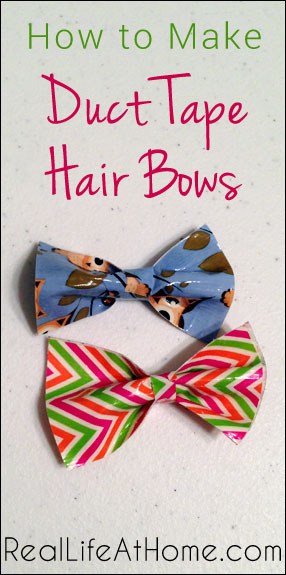
- How to Make Duct Tape Hair Bows
- Painting Fun for Kids with Painter’s Tape
Outdoor Splatter Painting for Kids
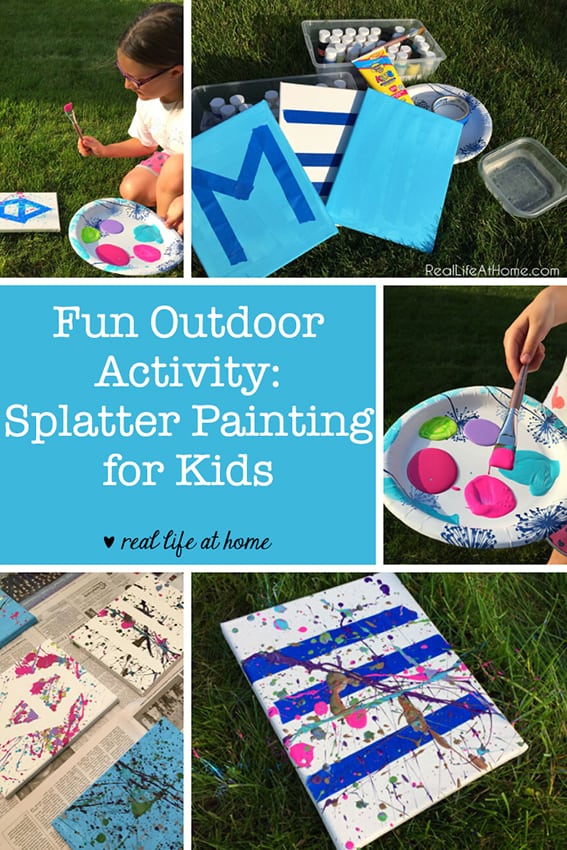
For this Jackson Pollock-inspired splatter painting activity, you’ll need the following materials:
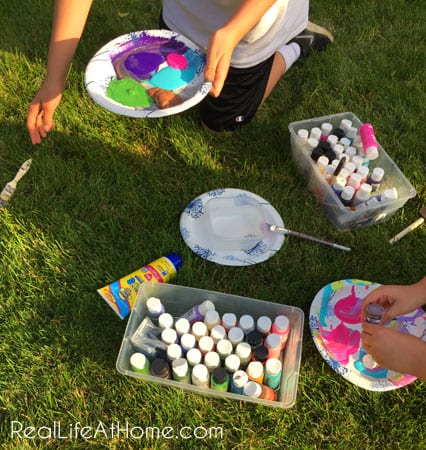
- Washable paint for kids or craft paint
- Canvas or thick paper
- Large paint brushes
- Something to hold paint, such as paper plates or a plastic palette
- Painter’s tape (optional)
- Water container
I’ll share a bit more about each of these materials below. If you don’t want to read more tips and hints about the materials, you can skim through it quickly or skip over it altogether.
Paints in Various Colors
For paint, you can use kid-friendly washable paint or inexpensive craft paints. If you’re worried about paint messes on clothing, I would recommend washable paint.
We wanted a larger variety of colors, so we used craft paints we already had at home. Since my kids are older, I didn’t have to worry as much about ruining clothing. Either way, you might want to use paint smocks or old clothes that you don’t mind getting paint on.
Canvases or Paper
My preference is to use inexpensive canvases because I think they are sturdier and hold the paint better. I also find that it is often a more exciting experience for kids. It makes them feel like “real artists,” as my daughter is apt to point out.
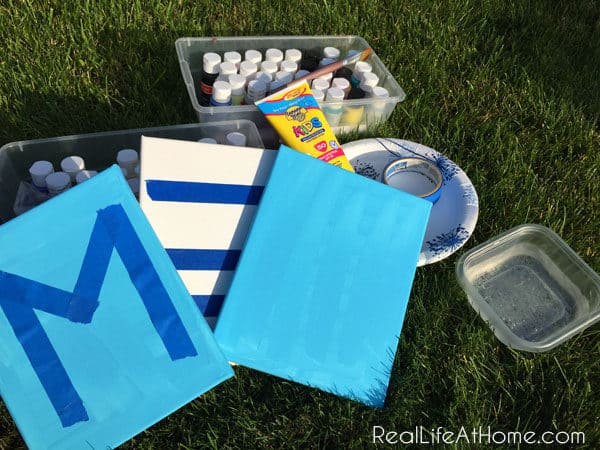
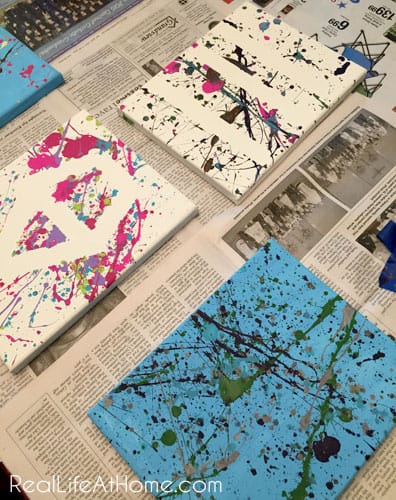
For some of our canvases, we opted to paint them a solid color ahead of time. This is a fun option that gives the project a different look.
If you want to use paper, I would recommend a thicker paper. If possible, I would try to use art paper so it might take the paint better.
Don’t want to spend a lot of money on canvases? You can definitely find smaller canvases at a reasonable price. However, if you want to try a large canvas project, Jean from The Artful Parent has some great ideas for how to find one inexpensively.
Large Paint Brushes
Small paintbrushes will work if that’s what you have at home already.
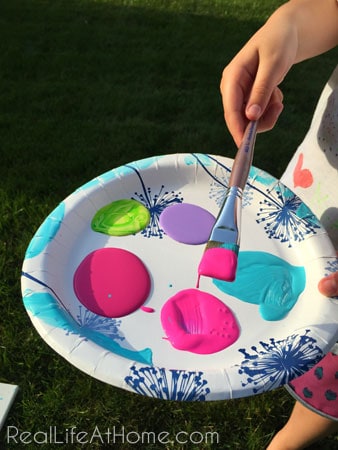
However, we have found that being able to load up a larger paintbrush with more paint makes it easier to throw the paint.
Paper Plates, Plastic Reusable Paint Palette, or Another Surface for Holding Paint
Since we wanted this to be a fun activity with an easy cleanup option, we used sturdy paper plates. These also had plenty of room for each of the kids to pick several colors for their paintings. Reusable plastic palettes would also work well. It involves a little more clean up, but cuts down on waste.
I also really like palette paper for easy cleanup with painting projects. However, I would recommend something sturdier like paper plates or plastic palettes for this outdoor project.
Painter’s Tape
While this is an optional item, making a design with painter’s tape on the canvas before throwing the paint can make a very cool negative space design.
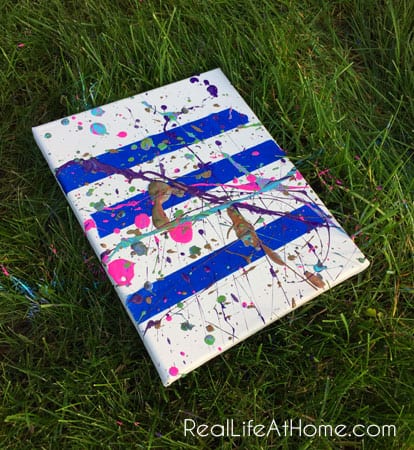
In our experience, simple designs are going to look the best. Consider something like the stripes that Jack used on one of his canvases. This one came out the clearest. A simple shape or a large letter, like an initial, would also be great.
Container for Water
This is another optional item. Washing off the brush between colors can water down the paints and make you throw lots of water droplets at the canvas in addition to the paint. I would recommend just skipping washing out the brushes until you are all done or between paintings.
Note: Since this is an outdoor activity, I would also recommend putting on sunscreen before working on the paintings. Because we did all of our paint color picking outside, as well as the entire activity, we were out in the sun for a lot longer than you might expect.
How to Make Your Splatter Painting
This is such a fun and simple activity that talking about how to do it will be much shorter than talking about the materials that you need for it. That makes for a perfect, simple outdoor activity in my book!
1. Gather all of your materials, so you are prepared for the activity. Set out your paints and paper plates for step two.
2. Let your child pick several different colors that they want to throw at their canvas.
I recommend suggesting a specific number of colors to your child if they are younger. Conversely, you can also just limit the number of colors available.
Since my kids are older, I didn’t give them a paint color limit. They each picked five or six different colors to put on their paper plates.
3. Have children set out their canvas in any area away from everything else. We used a grassy area away in the middle of our yard. We avoided things that they might get paint on like our house and swing set.
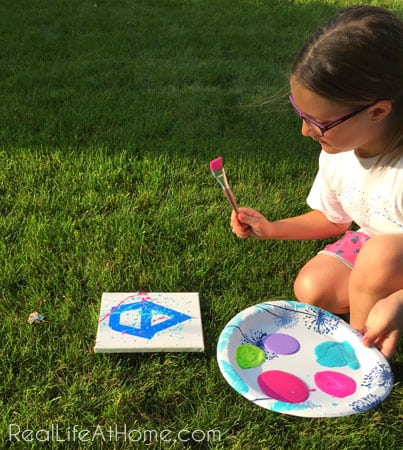
4. Demonstrate the best way to get paint on their brush. For this activity, it is best to scoop up a large amount, like what is shown in the picture above.
5. Show your children how to flick their wrist to throw the paint toward the canvas.
I also had to point out the importance of not flicking their wrist backward first, but that was only after a teenager proceeded to flick paint on himself first.
6. Once they are done with their splatter painting art project, place it somewhere indoors to dry.
Take care to not walk in the wet paint that is now on the grass, if you have painted on the lawn.
Easy peasy, fun for the kids, and then you have a cool original splatter painting for your walls. Bonus!
Other Projects You May Love
Disclosure: This post contains affiliates links. They don’t change the price that you pay. However, when you shop through them, we may receive a small compensation.
Join 40,000+ Other Awesome People
Subscribe to the Real Life at Home weekly newsletter to get our latest content, exclusive free printables, learning activities, and ideas for celebrating with your kids all year

This looks like fun! And I love the way the splatter designs come out!
It’s a great fun because how long can you draw with kids on a piece of paper. Sometimes it’s just boring.
Now while kids are outside all the time, you can just put some newspaper, water-colours and canvas on the groung and it’s ready.