advertisement
For the second year in a row, Jack signed up to do a Home Environment project for 4-H. This project has a variety of choices, but he mostly likes to choose the option where he can refinish or repurpose some type of piece for the home. In his first year, he used four 8×10 canvases, felt, fabric, and ribbon to create a French memo board for his room, which won a blue ribbon and Reserve Champion at our county fair and then got a blue ribbon at our state fair.
Each year, he has wanted to make something that he can actually use later. So, with my help, he decided to make some changes to the plain black side table from Walmart that he was using as a night stand to make it a cooler piece to use. This is how he ended up changing that plain side table into a cool blue ombre side table.
Please keep in mind as you look through the pictures that this is Jack’s project. He definitely had assistance along the way from us, but things aren’t quite as precise as I might have made them if I was doing the project all on my own.
advertisement
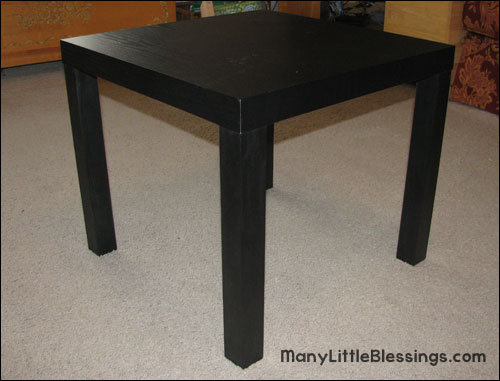
Here’s the table prior to working on the project. It was purchased for around $20 at Walmart. It was originally used for something else, but then when we didn’t need it anymore, it became a night stand for Jack.
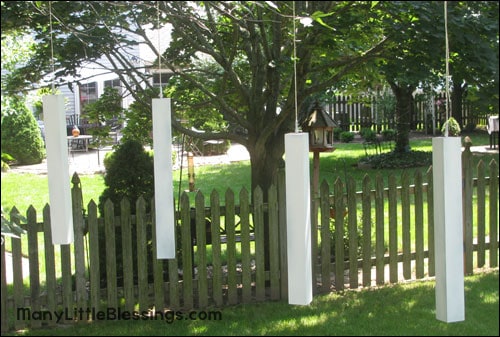
The first step that Jack did, with Eric’s help, was to take apart the table (which was extremely easy, since the legs were just screwed in) and they used a spray primer outside to paint the table top and all of the legs. In an inventive moment, Eric decided they should hang the legs from a tree so they could paint all sides at once.
Later, for leg painting, Eric actually just screwed them into a piece of wood that he didn’t mind if Jack got paint on. That made it very handy to paint all sides at once.
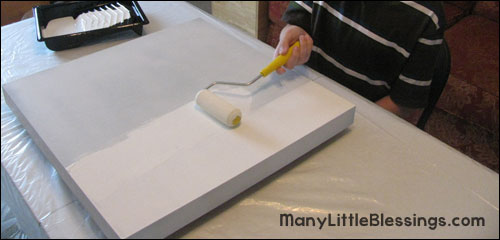
Once the primer had dried, Jack took care of painting two coats of white paint on all of the legs and the table top. Since the stripes would be white, painting a white layer (or two) meant that he would be able to just use painters tape to create his lines, since he would just not paint over those areas while painting his blue sections.
Now it came time for putting on the painters tape. I won’t lie – Eric did this and had some assistance from Jack, rather than the other way around. I would have eyeballed it, but Eric’s an engineer, so he used a tape measure and figured out exactly where the tape had to be. He marked it off with a pencil and then Jack used that as a guide for putting the painters tape on his table.
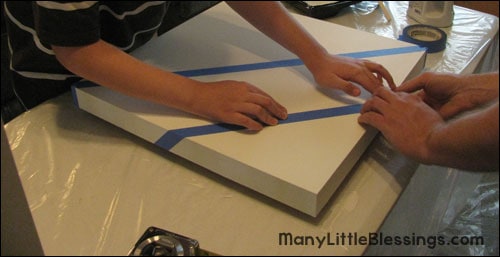
Once the painters tape was all in place, Jack picked one corner section to paint in the lightest color of blue that we bought and then just kept making each of the next sections a darker shade.
When we picked out the shades of blue, we just found a paint strip that Jack really liked and got the smallest amount of paint that they would mix for us of nearly all of the colors on it.
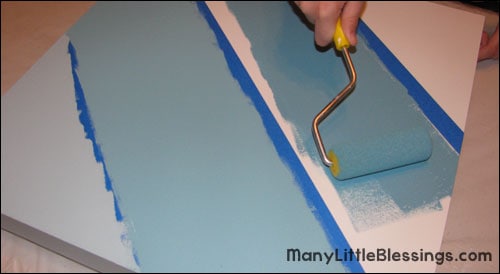
Although he had to work off and on throughout the day, Jack finally got all of the sections and sides painted. Each section had two coats of blue.
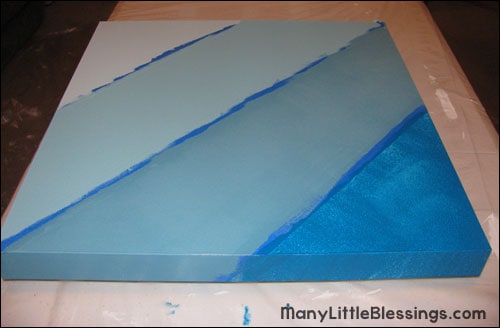
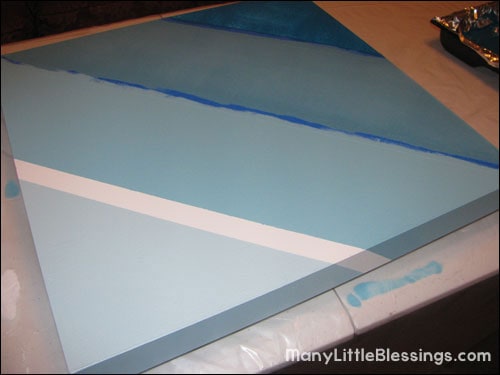
Once the paint had totally dried, it was time to start removing the painters tape very carefully.
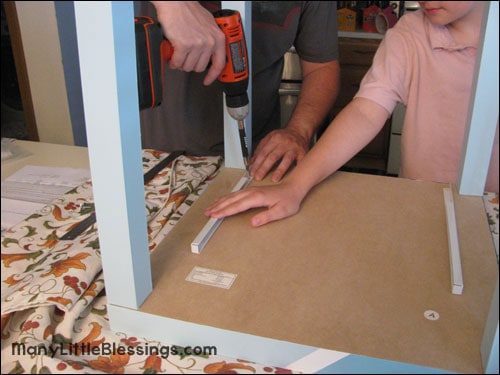
Since Jack doesn’t have a ton of storage area near his bed, we figured that a great solution to this might be to modify the original table so that there was a track system underneath to allow for a drawer or basket. He ended up going with a deep basket, which he now stores things like books and papers in.
Again, Eric helped with the more precise measurements. He then took turns with Jack using the drill.
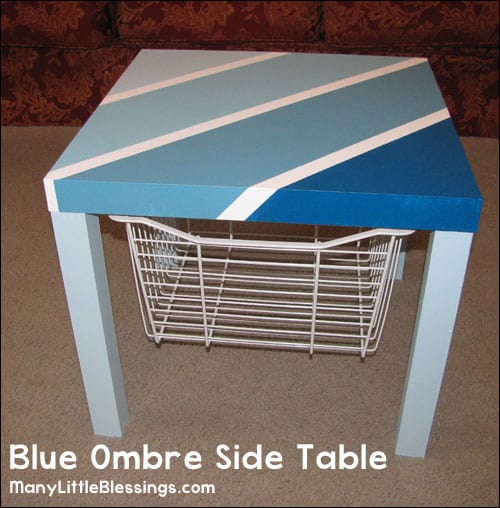
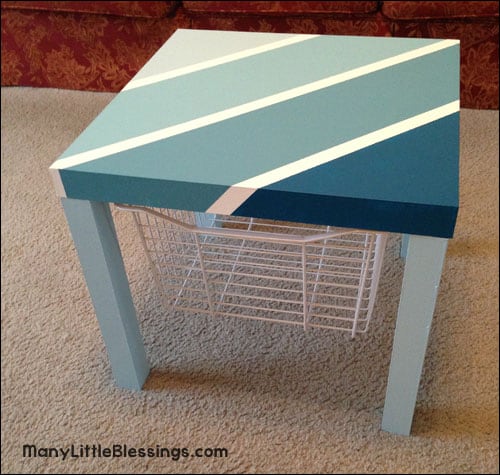
And finally, the blue ombre tabletop project was complete! As soon as I shared the pictures with family and friends, Jack got requests for him to make some for them too because everyone loved his finished project so much.
The table from above:

The complete finished blue ombre table :
Jack got a blue ribbon and Reserve Champion in his division. His project didn’t get to go to the state fair this year, but that didn’t phase him. His response was just, “On the up side, I get to have my table back sooner!”
This was such a fun and easy project, and a great way to bring new life to a boring piece of furniture.
Join 40,000+ Other Awesome People
Subscribe to the Real Life at Home weekly newsletter to get our latest content, exclusive free printables, learning activities, and ideas for celebrating with your kids all year
What kind of basket did you use for the drawer?
I can’t exactly remember. It was a basket we got at Home Depot or Lowe’s that came with a track set so we could attach that to the bottom of the table. I think that would be the main thing to look for – something that came with tracks that you could add do the bottom of the table so you could use it like a drawer instead of a fixed basket. We found the basket in the area of the store where they have shelving units that you could put together.
Absolutely gorgeous turnout. Love it.