advertisement
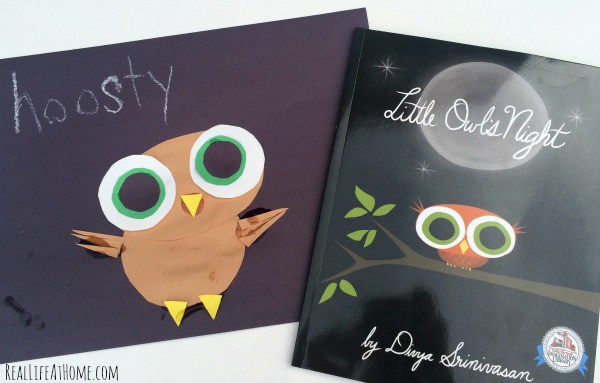
Learning Shapes with Little Owl’s Night is by Bethany from Math Geek Mama.
As a mom of many small children, I love finding lessons and activities that I can do with all my kids at once, and also teach multiple subjects at once. So when I first read the book, Little Owl’s Night, I knew we would have to include it in our school plans!
Together, we learned about nocturnal animals, counting, and more! This simple craft made learning shapes with the book Little Owl’s Night fun and hands-on!
advertisement
(Please note: This post contains affiliate links.)
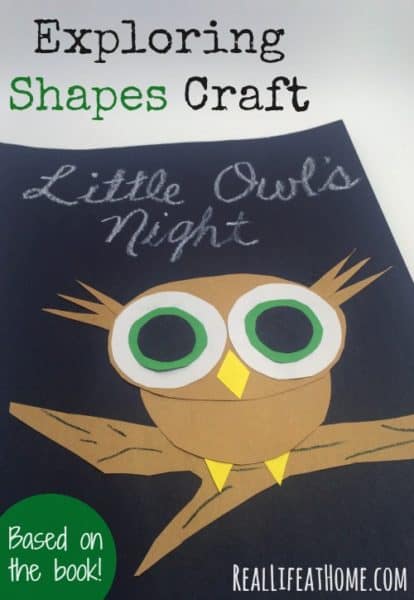
This simple craft to make along with the book helps kids learn various shapes and see how shapes can be put together to form pictures.
It was also great fine motor practice for my three year old, and a chance for my kids to be creative as they made their owl their own!
Learning Activities with the Book Little Owl’s Night:
The first thing I did was read this book aloud with my kids.
While I read, we would stop and count the animals on each page, or count the stars. I would ask my oldest questions such as, “How many more possums are there than beavers?” or “Can you count the berries by skip counting?”
We also talked about nocturnal animals and discussed which animals are nocturnal and which are not. I would ask questions such as, “Why is Bear sleeping?” or “If these animals are awake at night, what do they do during the day?”
After reading the story, we looked more closely at Little Owl and talked about the shapes we saw: circle, oval, diamond, triangle.
Then I showed them an example of the craft, and gave them all the supplies so they could create their own!
Materials Needed for the Little Owl’s Night Craft:
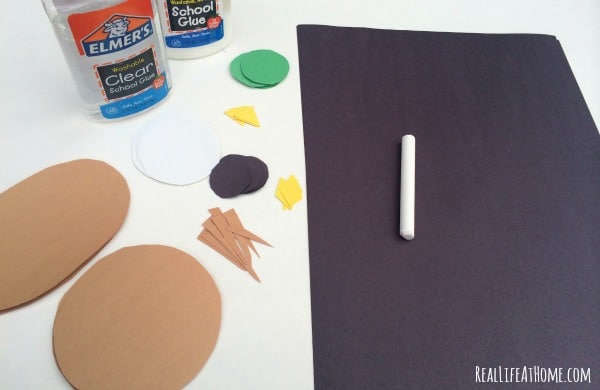
- Construction paper in brown, black, white, green and yellow
- Scissors
- Glue
- Chalk
To Set Up the Craft:
I cut out all of the shapes ahead of time so that my kids could simply put the shapes together to form the owl. If your kids are older, you could let them cut out the shapes themselves.
Start by cutting out an oval for the owl’s head. Once you have the size of your head, you can cut all the other shapes to fit and be sized appropriately.
This was the hardest shape, as I did not have a template. I simply drew the shape as best I could on my construction paper and then cut out multiple ovals at once.
Keep in mind that the shapes do not have to be perfect, as the ovals and circles in the story are not exactly perfect either.
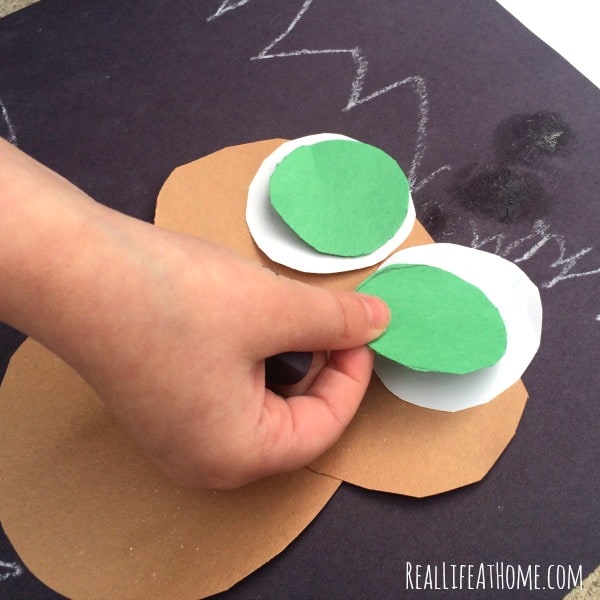
I then cut out brown circles for the body and eyes (a white circle for a moon, if you want). I used circular objects such as cups to trace the circles before cutting them out.
I also cut small, skinny brown triangles for the feathers by Little Owl’s eyes. However, some of my kids used these shapes as wings.
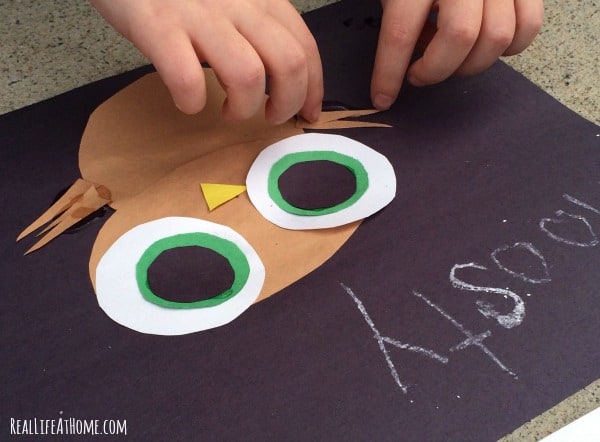
For the nose, I cut out yellow diamonds, and for the feet I cut out small yellow triangles.
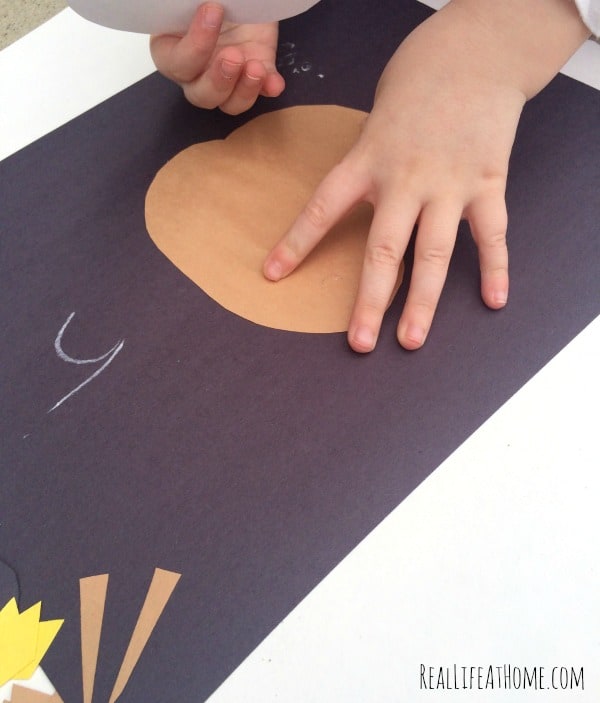
I then provided each of my kids a black piece of paper, and let them get to work creating the owls.
They had so much fun, and some even put the shapes together differently than I did, as well as adding a moon.
After assembling and glueing down their creations, they had fun using chalk to add stars, and I wrote “Little Owl’s Night” at the top.
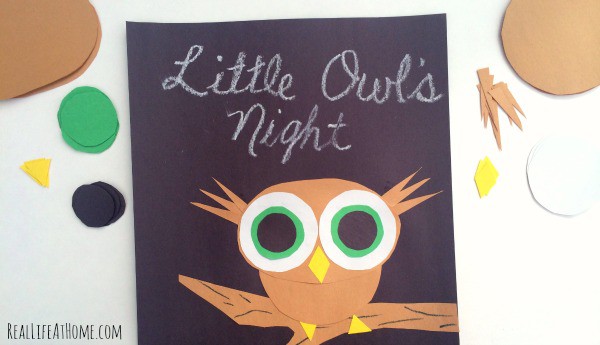
To go along with this adorable story is also the book, Little Owl’s Day. If you would like, you could read both books together and then give kids the option of creating an owl during the day or at night. Simply use blue construction paper as the background and a yellow circle for the sun, if you are making Little Owl’s Day.
You could also use Little Owl’s Day to learn about colors and compare the different animals that are awake during the day versus at night.
Incorporating fun children’s literature into our homeschool lessons is one of my favorite ways to engage my kids in learning.
I hope you will also enjoy this book, learning ideas, and craft with your own children!
Other Posts You’ll Love


Join 40,000+ Other Awesome People
Subscribe to the Real Life at Home weekly newsletter to get our latest content, exclusive free printables, learning activities, and ideas for celebrating with your kids all year
Oh I love this craft! Thanks for sharing! My two youngest will enjoy it, I’m sure!