advertisement
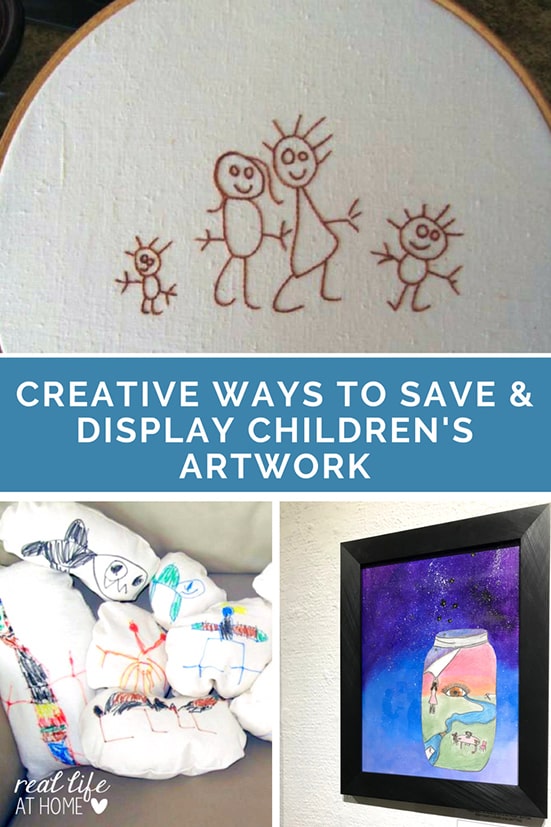
Creative Ways to Save and Display Children’s Artwork Post Preview: This post will share ways to turn your children’s artwork into treasures that will last for a long time and be well loved. It’s not about organizing kid’s artwork, but about saving your favorites.
advertisement
If your house is anything like mine you have an abundance of children’s artwork to deal with. Now, this post is not about how to organize it, but rather how to take some of your favorite pieces, those you are most sentimental about, and turn them into treasures that will last for a long time and be well loved.
Creative Ways to Save and Display Children’s Artwork
Frame Your Children’s Artwork
You can have your children’s art professionally mounted and framed as a way to display children’s artwork. If the cost is prohibitive, don’t abandon this idea. You can often find beautiful frames with pre-cut mounting at framing and craft stores, and then you can do the rest yourself.
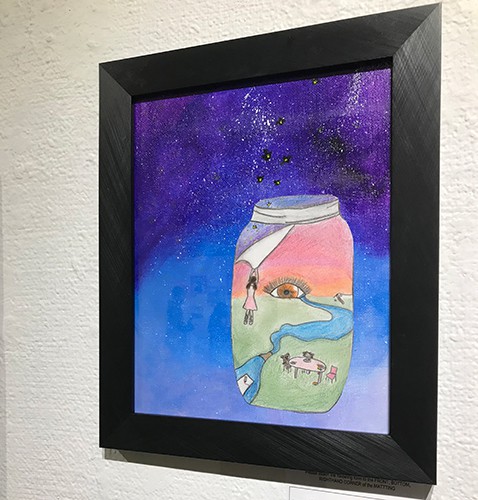
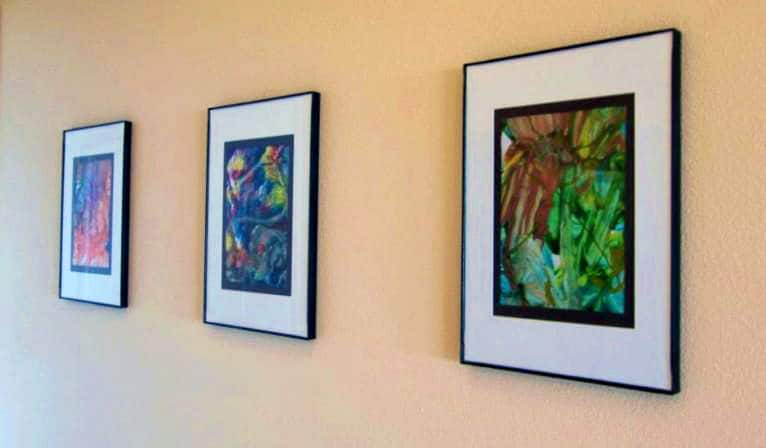
I have three finger paintings done by one of my boys around age two on display in our home, and they are always a favorite among our guests. Framing children’s artwork not only allows you to preserve and enjoy the pieces, but it really makes the kiddos feel quite special and appreciated! Framed artwork also makes great gifts for grandparents.
Display Children’s Artwork by Embroidering Copies of It
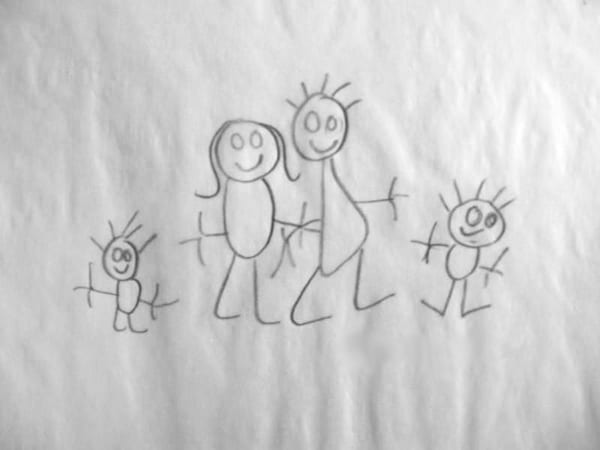
I took a drawing of our family, done by my then five year old son, and embroidered it.
I hope to do this with future family drawings as a record of the progression in his drawing skills. I displayed it in an embroidery hoop. However, one of my friends had the very cool recommendation of turning them into a keepsake quilt in the future.
Here is his drawing:
Here is my embroidery of his drawing:
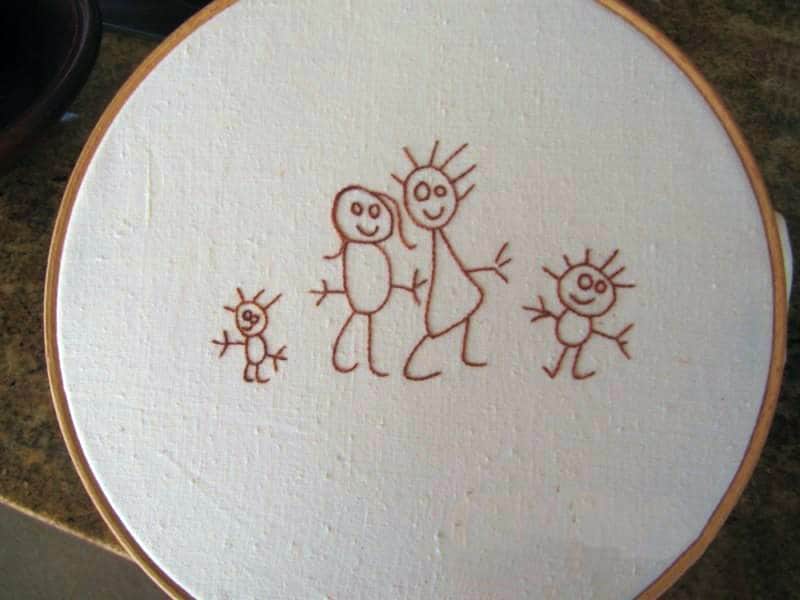
If you have never done embroidery, you can definitely learn how to embroider. Simple drawings can make a great project to work on while learning.
Turn Your Child’s Artwork into a Stuffed Animal or Lovey
Last year the boys and I worked together to turn some of their animal drawings into their own special softies.
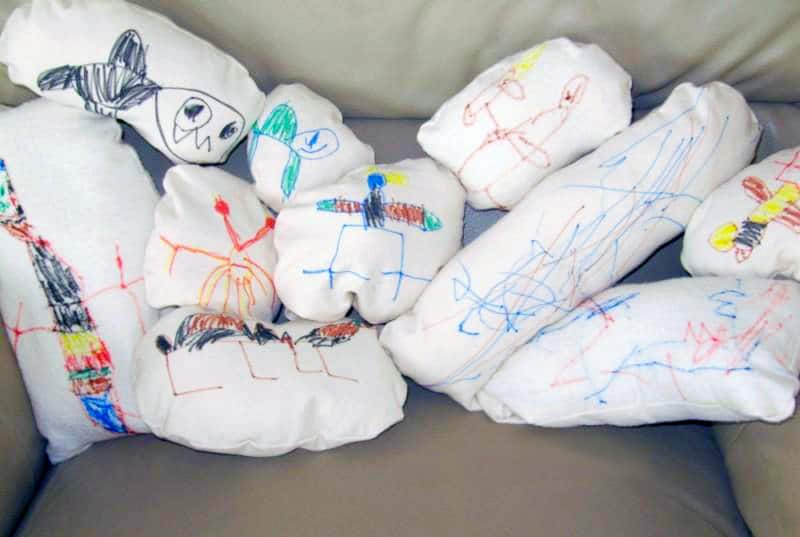
First, they drew the animals onto fabric with fabric pens. Next, together we cut them out, sewed them most of the way up, stuffed them, and then finished sewing them up to turn them into their own homemade softies.
You can take these a step further and embroider the drawings if you would like. Embroidering them can give them more texture and durability. You could also use this idea to make t-shirts, bags, bedroom decorations, and more.

 Other Posts You May Love:

Kami loves to incorporate arts and crafts into daily learning with her boys at Nurturing the Tender Years.
Disclosure: This post contains affiliate links. This doesn’t change the price you pay. However, when you shop through them, we may receive a small compensation.
Join 40,000+ Other Awesome People
Subscribe to the Real Life at Home weekly newsletter to get our latest content, exclusive free printables, learning activities, and ideas for celebrating with your kids all year
Awesome! That is totally wonderful!! Thanks for the inspirations! 😀
I know I already said it to you in an email, but I really loved this. Reminded me of SouleMama. 🙂 Great inspiration here!
Wow, Angie, what a wonderful compliment! I love SouleMama! 🙂 Thank you!
Adoring the embroidered art!
These are wonderful ideas! Thank you for the inspiration!
Another option for finding matted frames is to look at Goodwill, etc. I have found several matted frames this way, and I took out the print in the frame to put in what I wanted to frame. I’ve even put together one beautiful frame (with an awful matting) with the matting from another (awful) frame. Also, you could paint the frames to match your decor or to tie together different frames for a more uniform look–so keep an open mind when you’re looking. 🙂