advertisement
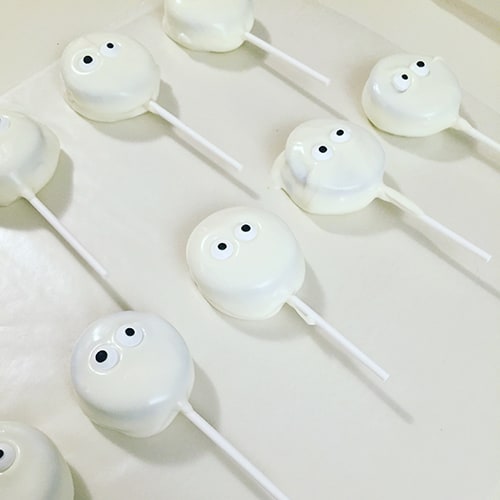
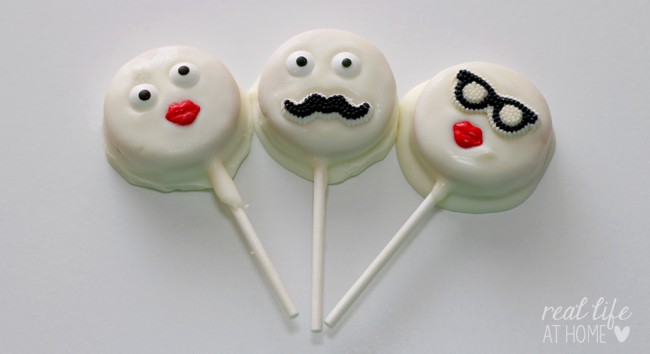
When I had to make a last minute treat for Molly’s class last year for a monthly auction they held each month, since it was just before Halloween, I made some super quick ghost cookie pops. They were a hit! Inspired by both those and emojis, when it was time for me to do her dance team’s bake sale this year, I went with emoji-inspired cookie pops.
advertisement
Here are the super simple ghost cookie pops that I made last year:
=”1″]
Now, before we start talking about how to make these emoji-inspired cookie pops, let’s get this out of the way right now. Yes, I know that I used white and they would have looked more like emojis if they had been yellow.
I tried them both ways, and I much preferred the consistency of the white melting chocolates, as well as the finished product with it.
It didn’t matter, however. As soon as people walked by the bake sale, I had all kinds of kids saying things like, “Those are like emojis!” Or, even if they didn’t think of emojis, there were plenty of kids going crazy for them.
In fact, I made them for two different bake sales, and both times, they were the first treat that sold out (including one sale where I made 30 baggies of them, each with two pops in them).
Of course, if you want to opt for some yellow candy melts (or try to use a gel food coloring to make the white candy melts yellow), then you’ll have true emoji cookie pops.
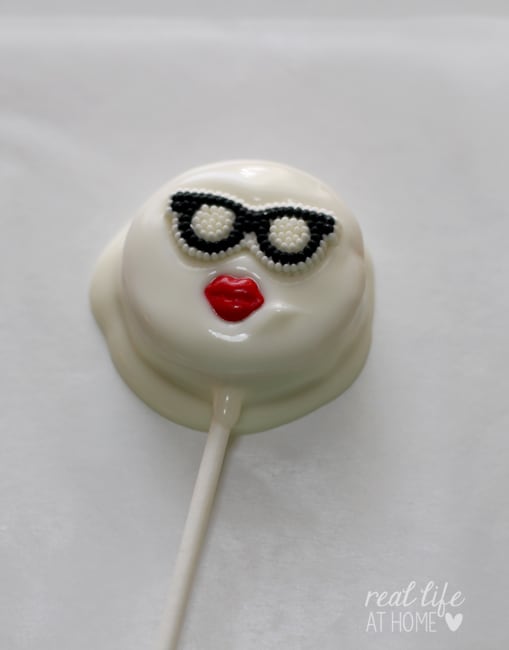
These emoji-inspired cookie pops were a hit!
Better yet, they were quick and crazy easy to make. Bonus! As a busy mom, I need treats that I can put together at the last minute that will be well received. Life is crazy sometimes, but then it’s extra awesome to have people oohing and ahhing over treats you brought.
I’m going to give you the scoop on how to make these cookie pops, and then I’ll also share a quick, one minute video showing how to make them.
Ingredients and Materials Needed for Your Emoji Cookie Pops
- Lollipop Sticks (I used 4-inch sticks)
- Wax Paper
- Bags for Packaging Your Finished Pops (if you’ll be packaging them up)
- Candy Melts in either white or yellow (I actually like this Almond Bark, which you can probably find at the grocery store)
- Gel Food Coloring, if you want to try to dye white melts yellow (or you can just not really worry about it too much, like what I did)
- Double or Mega Stuffed Oreos in Your Flavor of Choice (I’m going to talk about which one I recommend later)
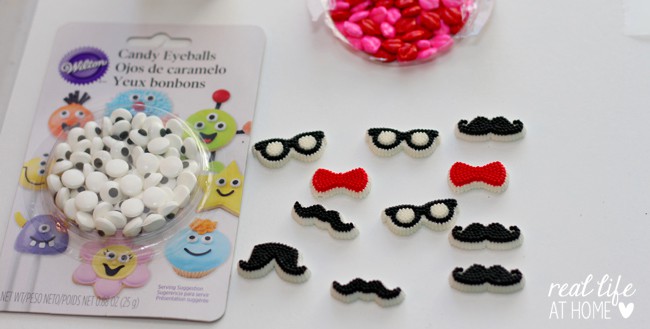
- Decorations for Your Emoji Cookie Pops (eyes, lips, glasses, mustaches, etc.)
Directions for Making Your Emoji Cookie Pops
1. Gather all of your supplies. These emoji-inspired cookie pops will come together quickly, so you’ll need to make sure that everything is within easy reach.
My emoji cookie pop decorations (I have links to all of these in step six below):
2. Put wax paper on the surface where you’ll be dipping your cookie pops. You will be placing your newly dipped cookie pops on this while they dry.
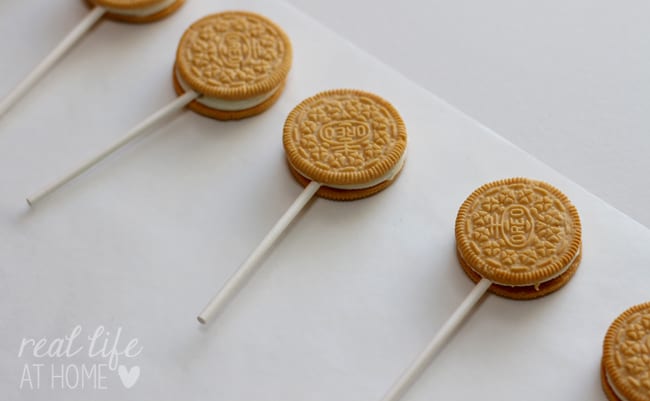
3. Insert your sucker/lollipop sticks into the center of your Oreo cookies. Push it in as far as you can before the stick starts to come out the other side. (Check out my video below or view it on YouTube.)
=”2″]
You can pick your favorite flavor, though kids seemed more excited the time that I used classic chocolate Oreos instead of Golden Oreos, like I did this time that I took pictures.
You can use either Double Stuffed Oreos or Mega Stuffed Oreos. In these pictures, I used Mega Stuffed Golden Oreos. I found that while both worked, the Mega Stuffed Oreos were easier to for securing the stick. However, you get fewer Mega Stuffed Oreos in a package.
Note: Neither Regular or Thin Oreos would work for this project.
4. Melt your candy melts according to their package directions. I find that candy melts that I find in at the grocery store (larger bricks like this “Almond Bark”) melt more smoothly than small, disc melts that come in baggies.
5. Dip pops in groups of 10 – 12 pops at a time. If you’re not sure how to best do that, you can check out my video below (or view it on YouTube).
6. Add candy eyes, lips, glasses, mustaches, bow ties (which I also used as hair bows), or whatever you’re decorating with to your newly dipped cookie pops.
7. Repeat steps five and six until you have dipped and decorated all of your emoji cookie pops.
8. Allow to dry/harden completely.
9. Package your emoji cookie pops in baggies, if you will be taking them to a bake sale, party, or gathering. Otherwise, carefully place them in an airtight container.
10. Enjoy!
=”3″]
How to Make Emoji Cookie Pops Video
Don’t worry – this is a quick video. It’s just one minute long, but it may help you if you’re feeling unsure about any part of this project. You shouldn’t be though – it’s super easy!
If you are reading this in a feed reader or via email, you may need to come to the site to see this video or you can view it on YouTube. (You could follow my very small YouTube channel while you’re there.)
Other Posts You’ll Love:
=”4″]
Disclosure: This post contains affiliate links. Using them does not change what you pay, but the site may receive a small compensation if you shop through them. Thanks!
Join 40,000+ Other Awesome People
Subscribe to the Real Life at Home weekly newsletter to get our latest content, exclusive free printables, learning activities, and ideas for celebrating with your kids all year




Leave a Reply