advertisement
The following is a post from contributing writer Tanya of Finding the Teachable Moments.

advertisement
RightStart Math is about as hands-on as you can get in a math curriculum. That really appealed to me as I searched for a math program for my boys. I loved that it was taught primarily through games and manipulatives, and my-oh-my, are there OODLES of manipulatives that go along this program!
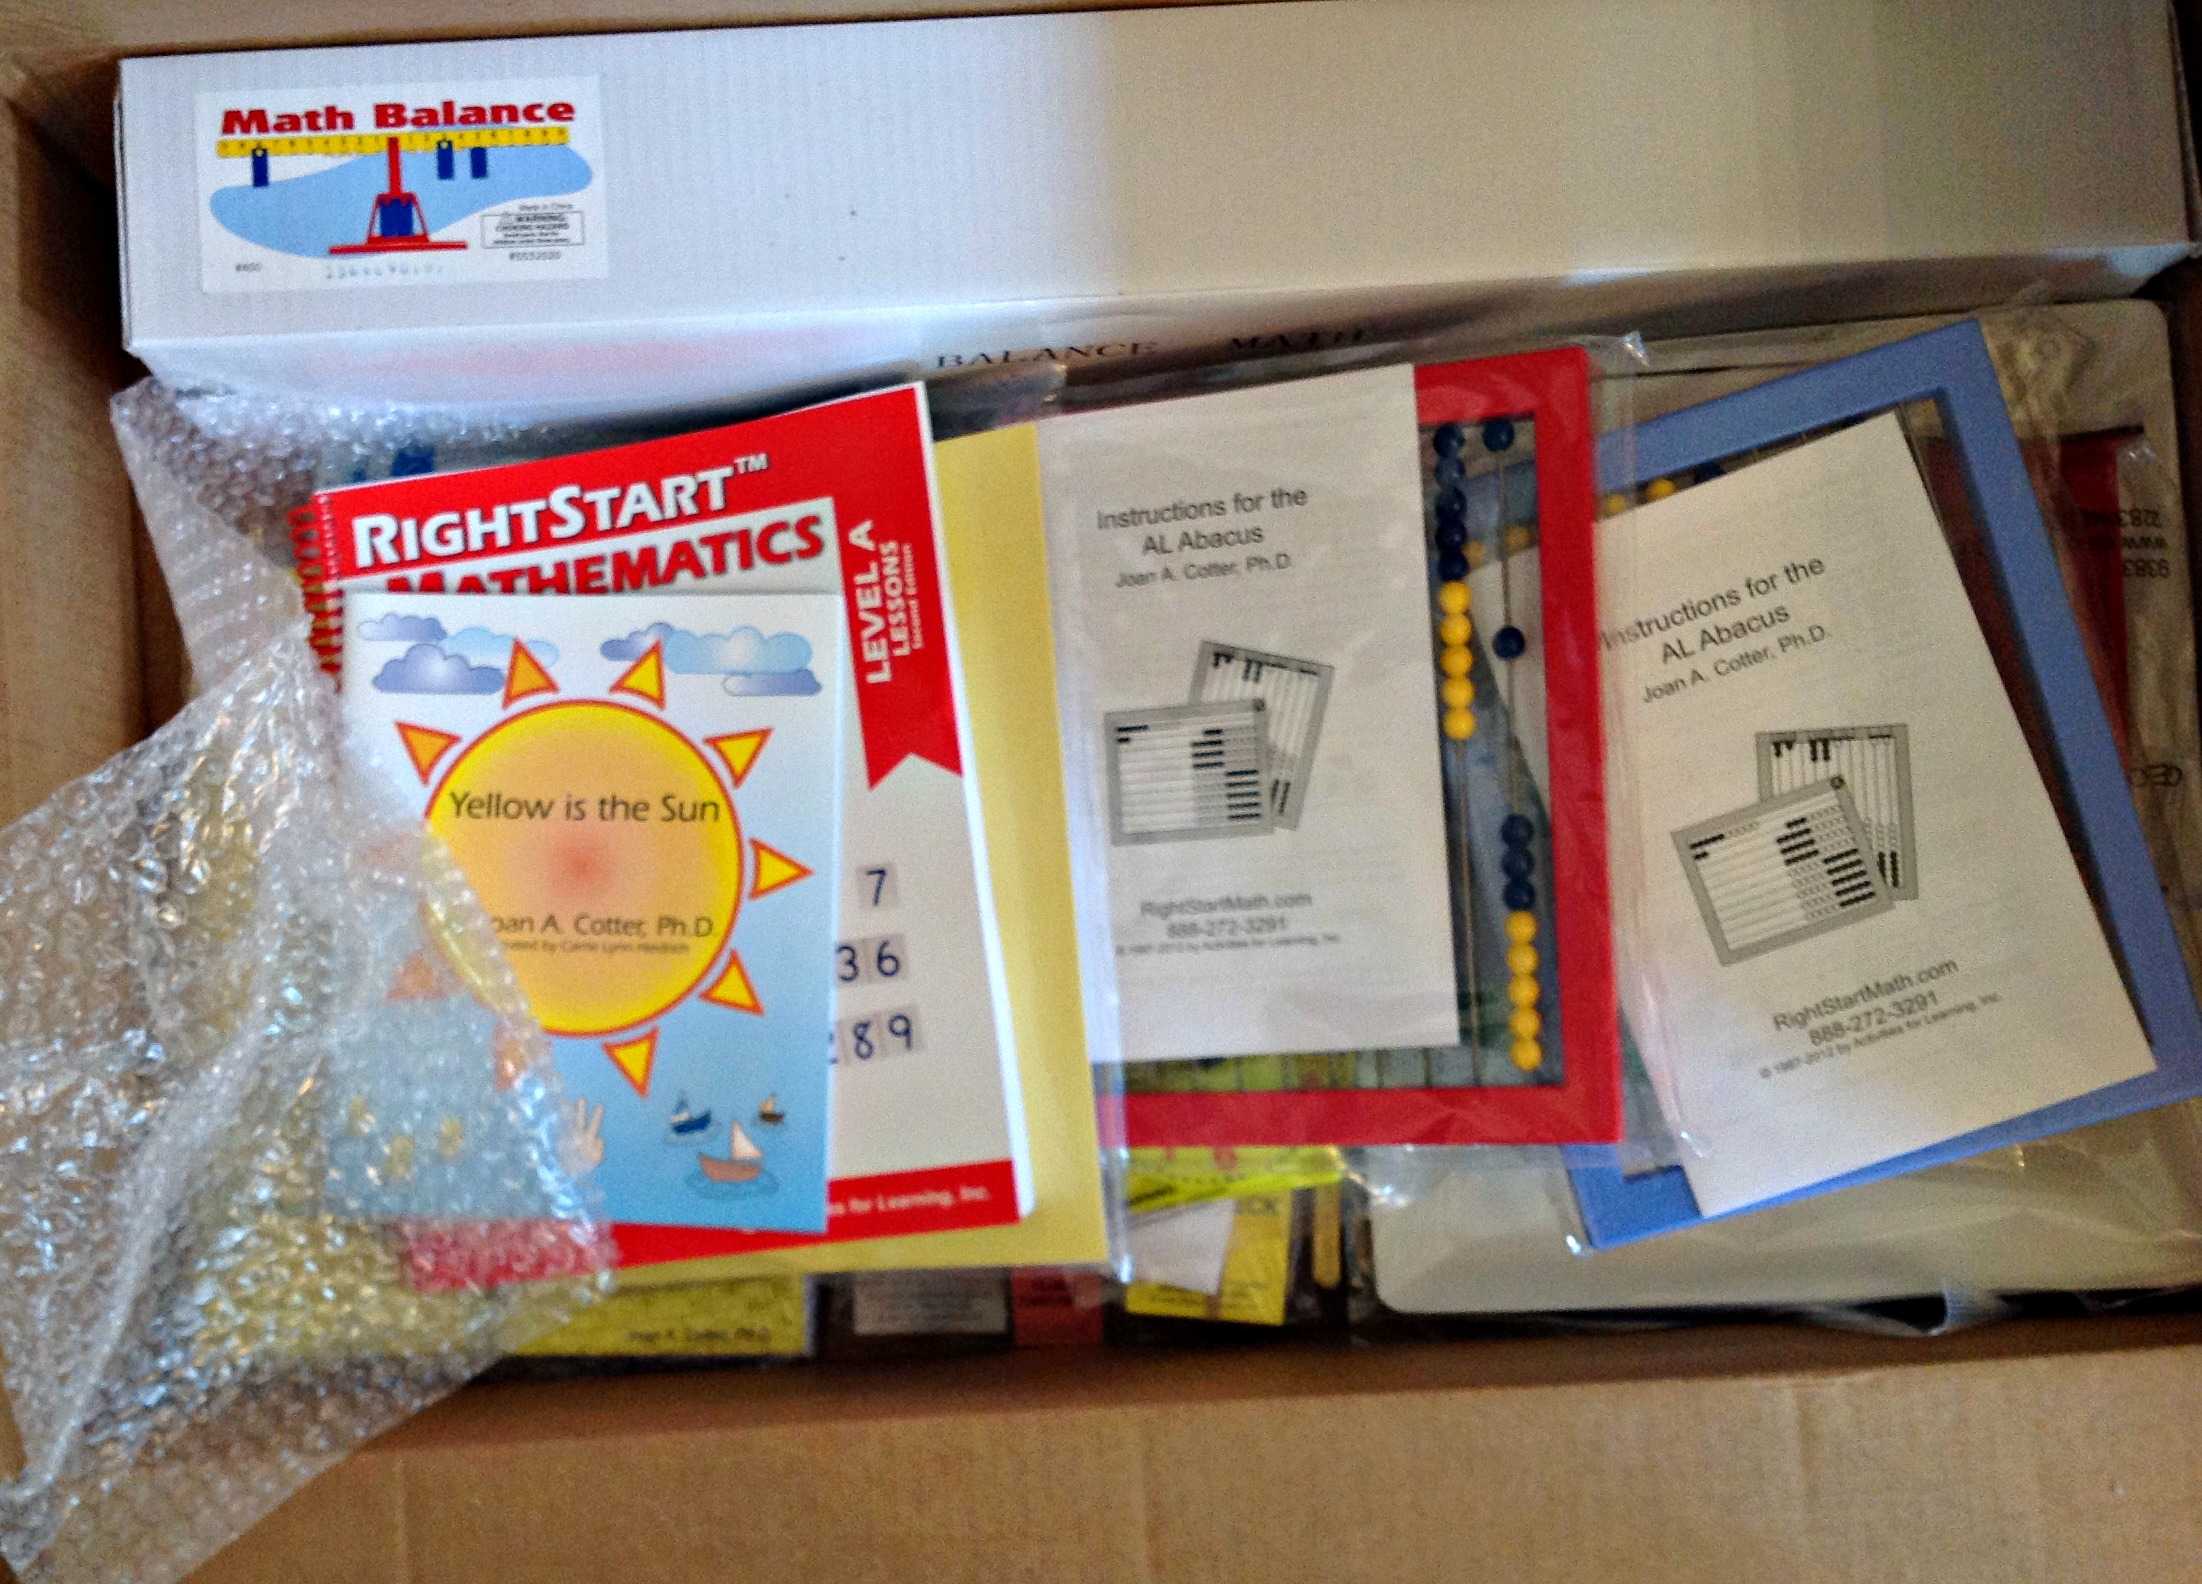
I remember how excited we were to open up our box of goodies. We took it all out, and for lack of a better place to store it all, I put everything into a file crate we had on hand. When it came time to prepare our first lesson, I had to sift through everything in the crate to pick out the few things we needed. It felt awkward and disorganized. Ironically, I started to think the primary reason I chose RightStart (all the hands-on materials) was actually going to make it a bit of a pain to teach. I obviously needed a way to organize our pile of math supplies.
My solution? Sterilite drawers.
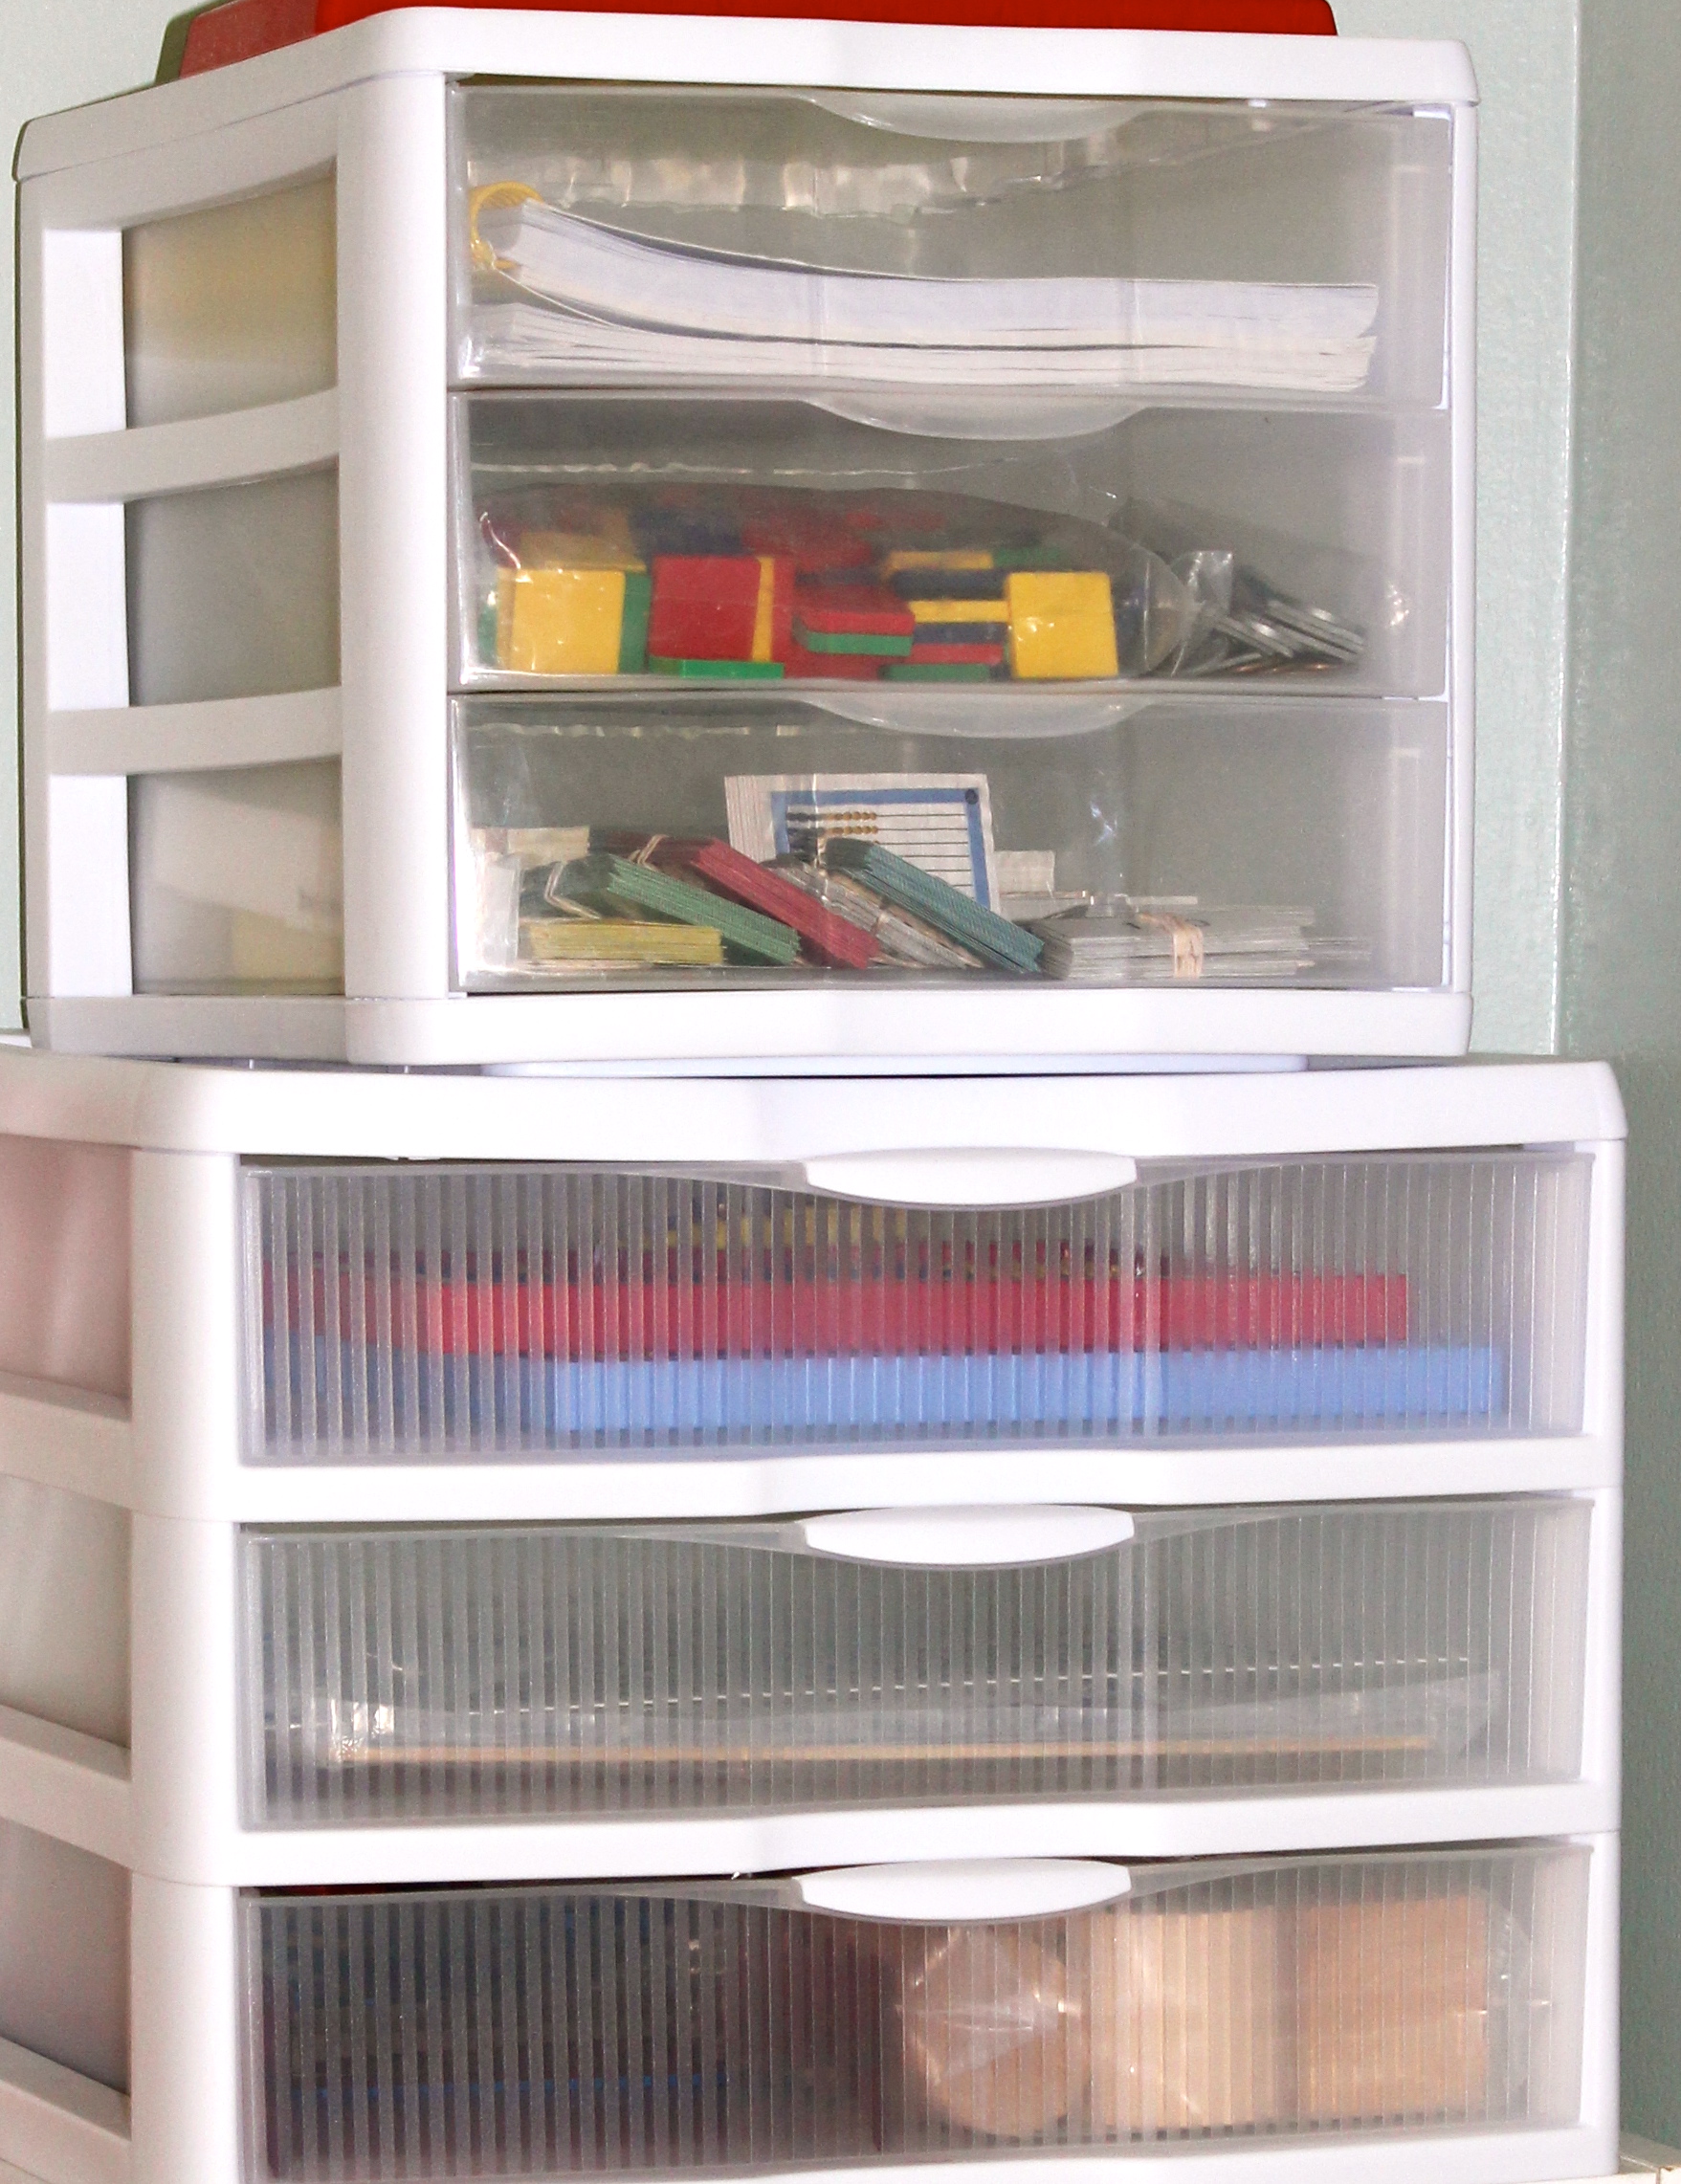

I used two 3-drawer organizers. The top unit![]() is approximately 13×10 (designed for standard size paper).
is approximately 13×10 (designed for standard size paper).
The bottom unit![]() is approximately 14×14 (can accommodate 12×12 sized paper).
is approximately 14×14 (can accommodate 12×12 sized paper).
I love the drawer system because it allows me to see everything at a glance. Unlike stackable containers, I can open each drawer and see the contents inside quickly. No opening lids or pulling out a container that is resting under several others.
We are using Level A, so I arranged the materials in a way that meets our needs best. Level B continues to use the same materials with roughly the same frequency. It is my understanding that most of the items are used throughout all levels, so adjustments should be easy if you are using Level C or above. That said, here’s a look at how I arranged everything, starting at the top and working down.
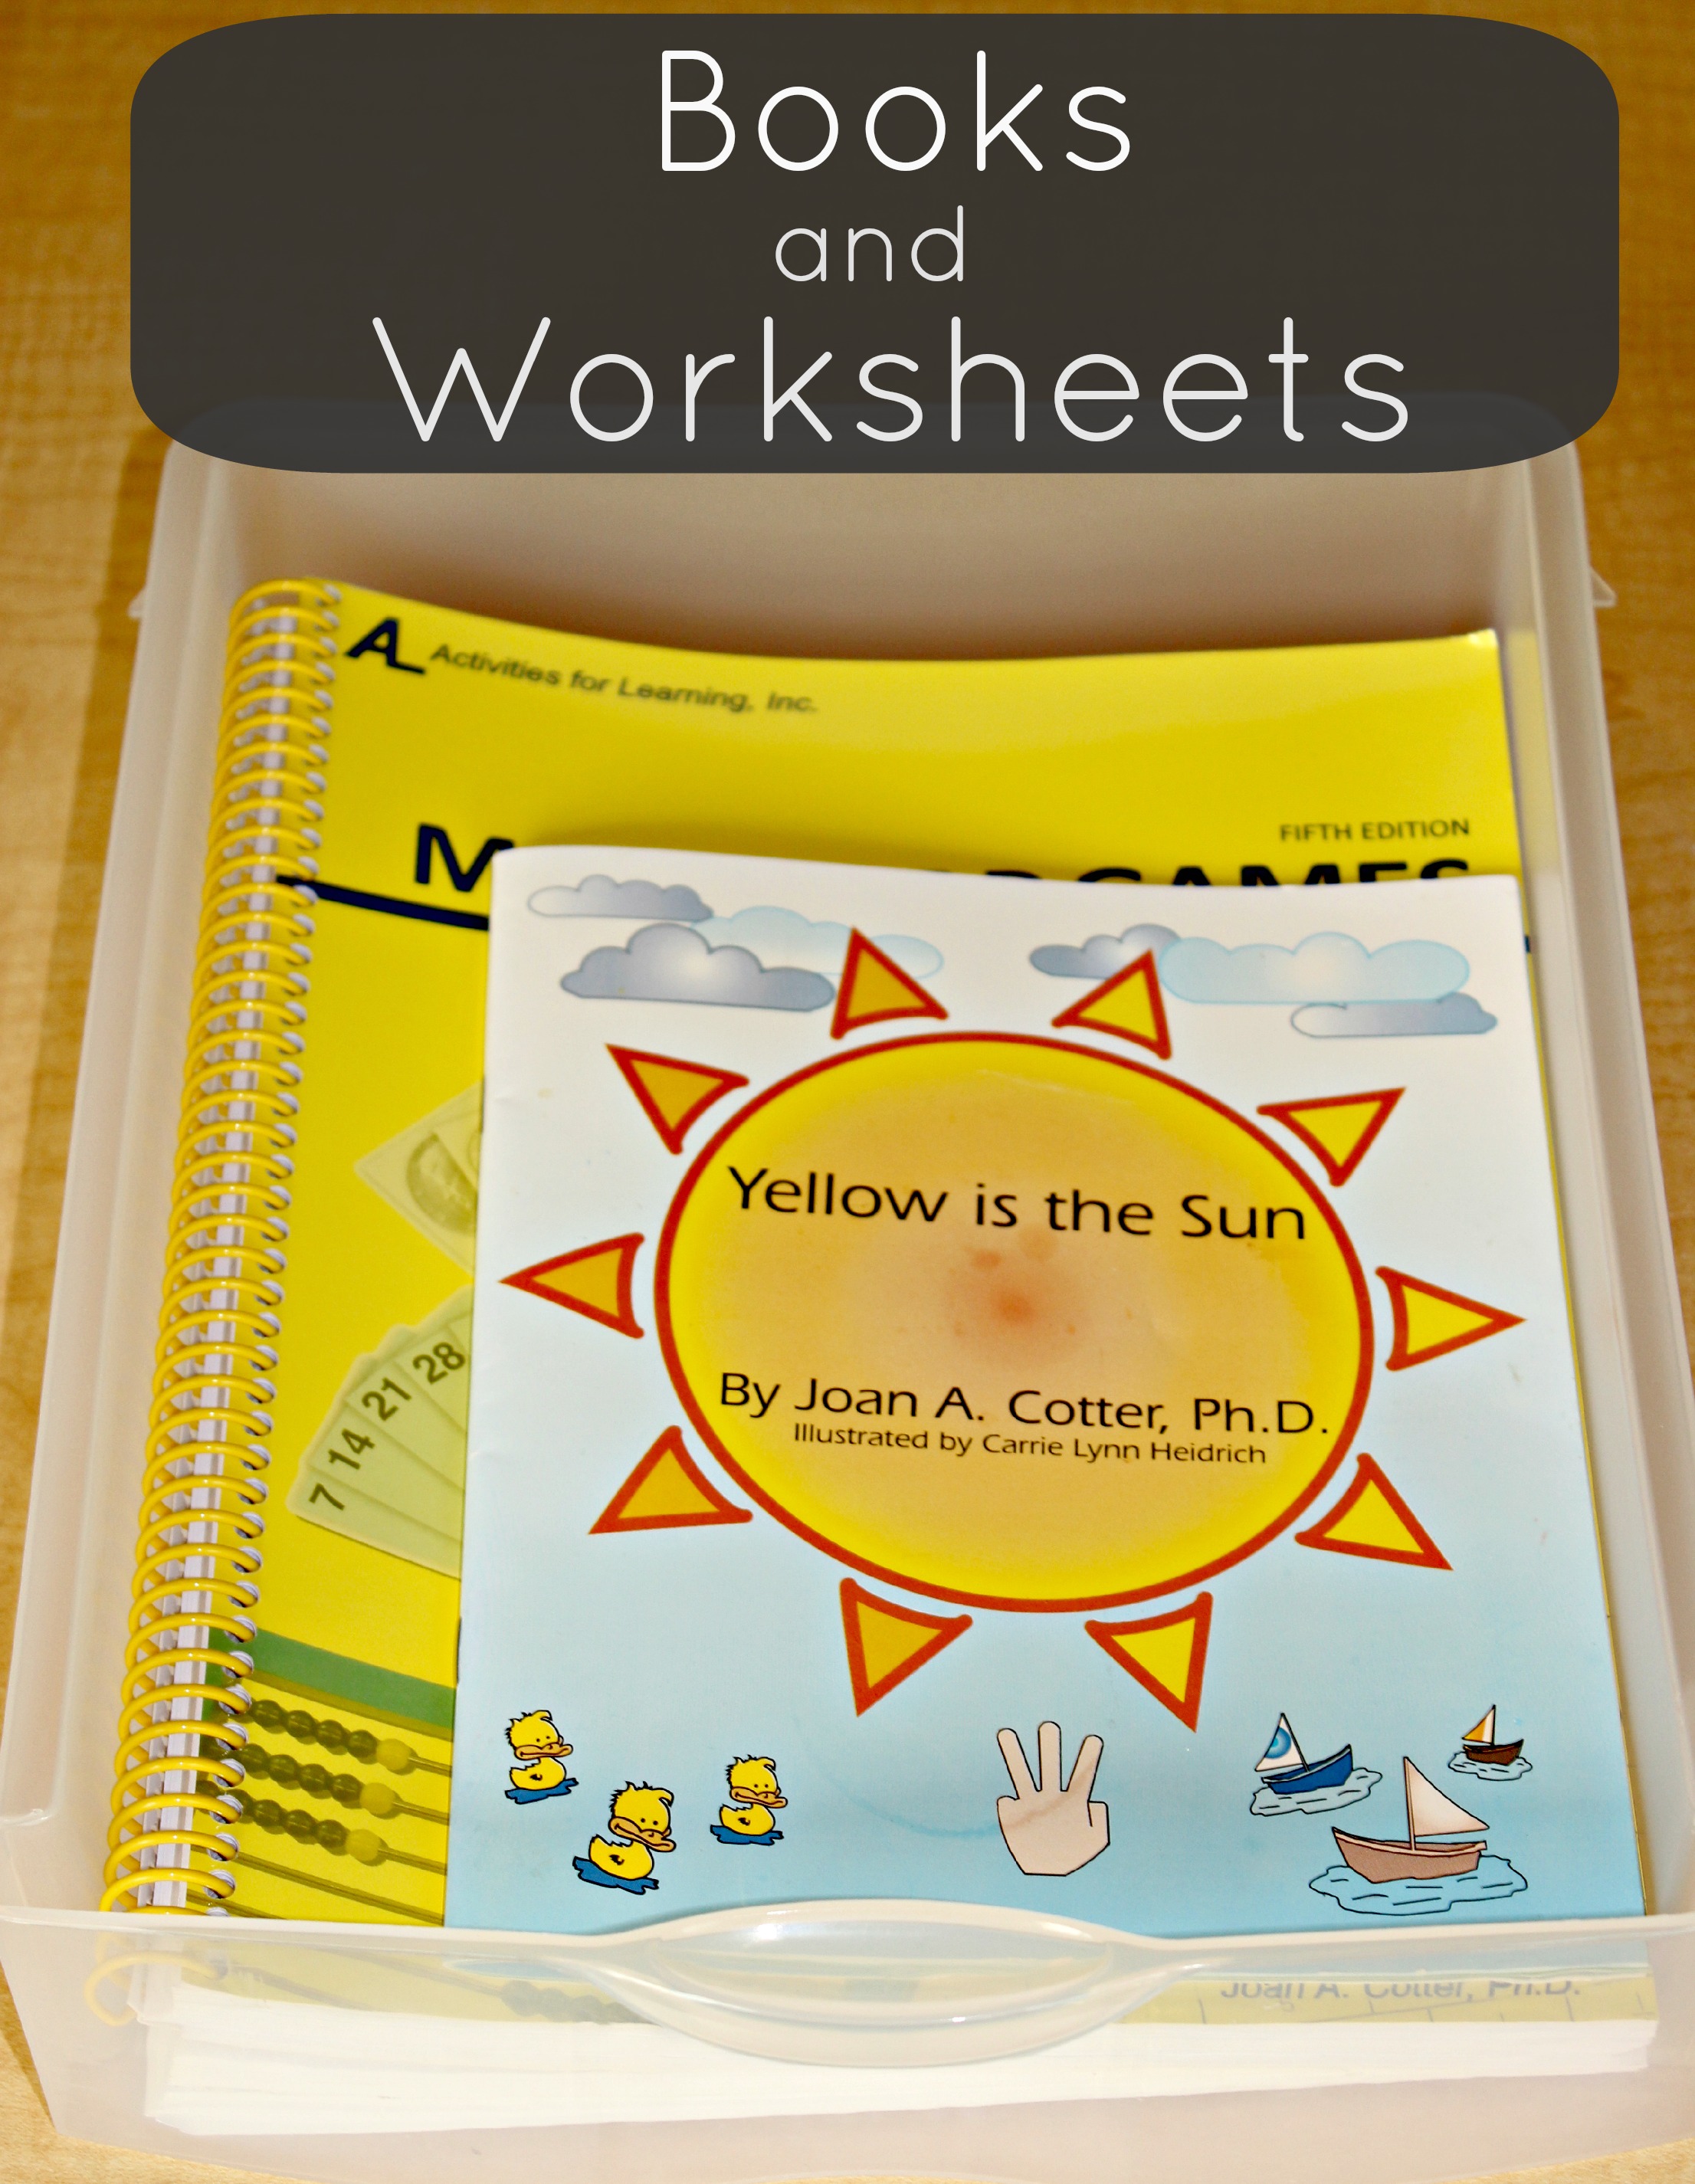
Obviously, books and worksheets can be stored upright on a bookshelf just as easily, but I had the extra drawer so I used it! These particular drawers are designed to hold standard size paper, so it was a perfect fit.

I kept everything in its original packaging and laid them out in plain sight. If you have already thrown out your bags, plastic sandwich or freezer bags would work just as well. This particular set of drawers are nice because they completely come out of the unit. You can pop the drawer out for your lesson and slide it back in when you’re finished.
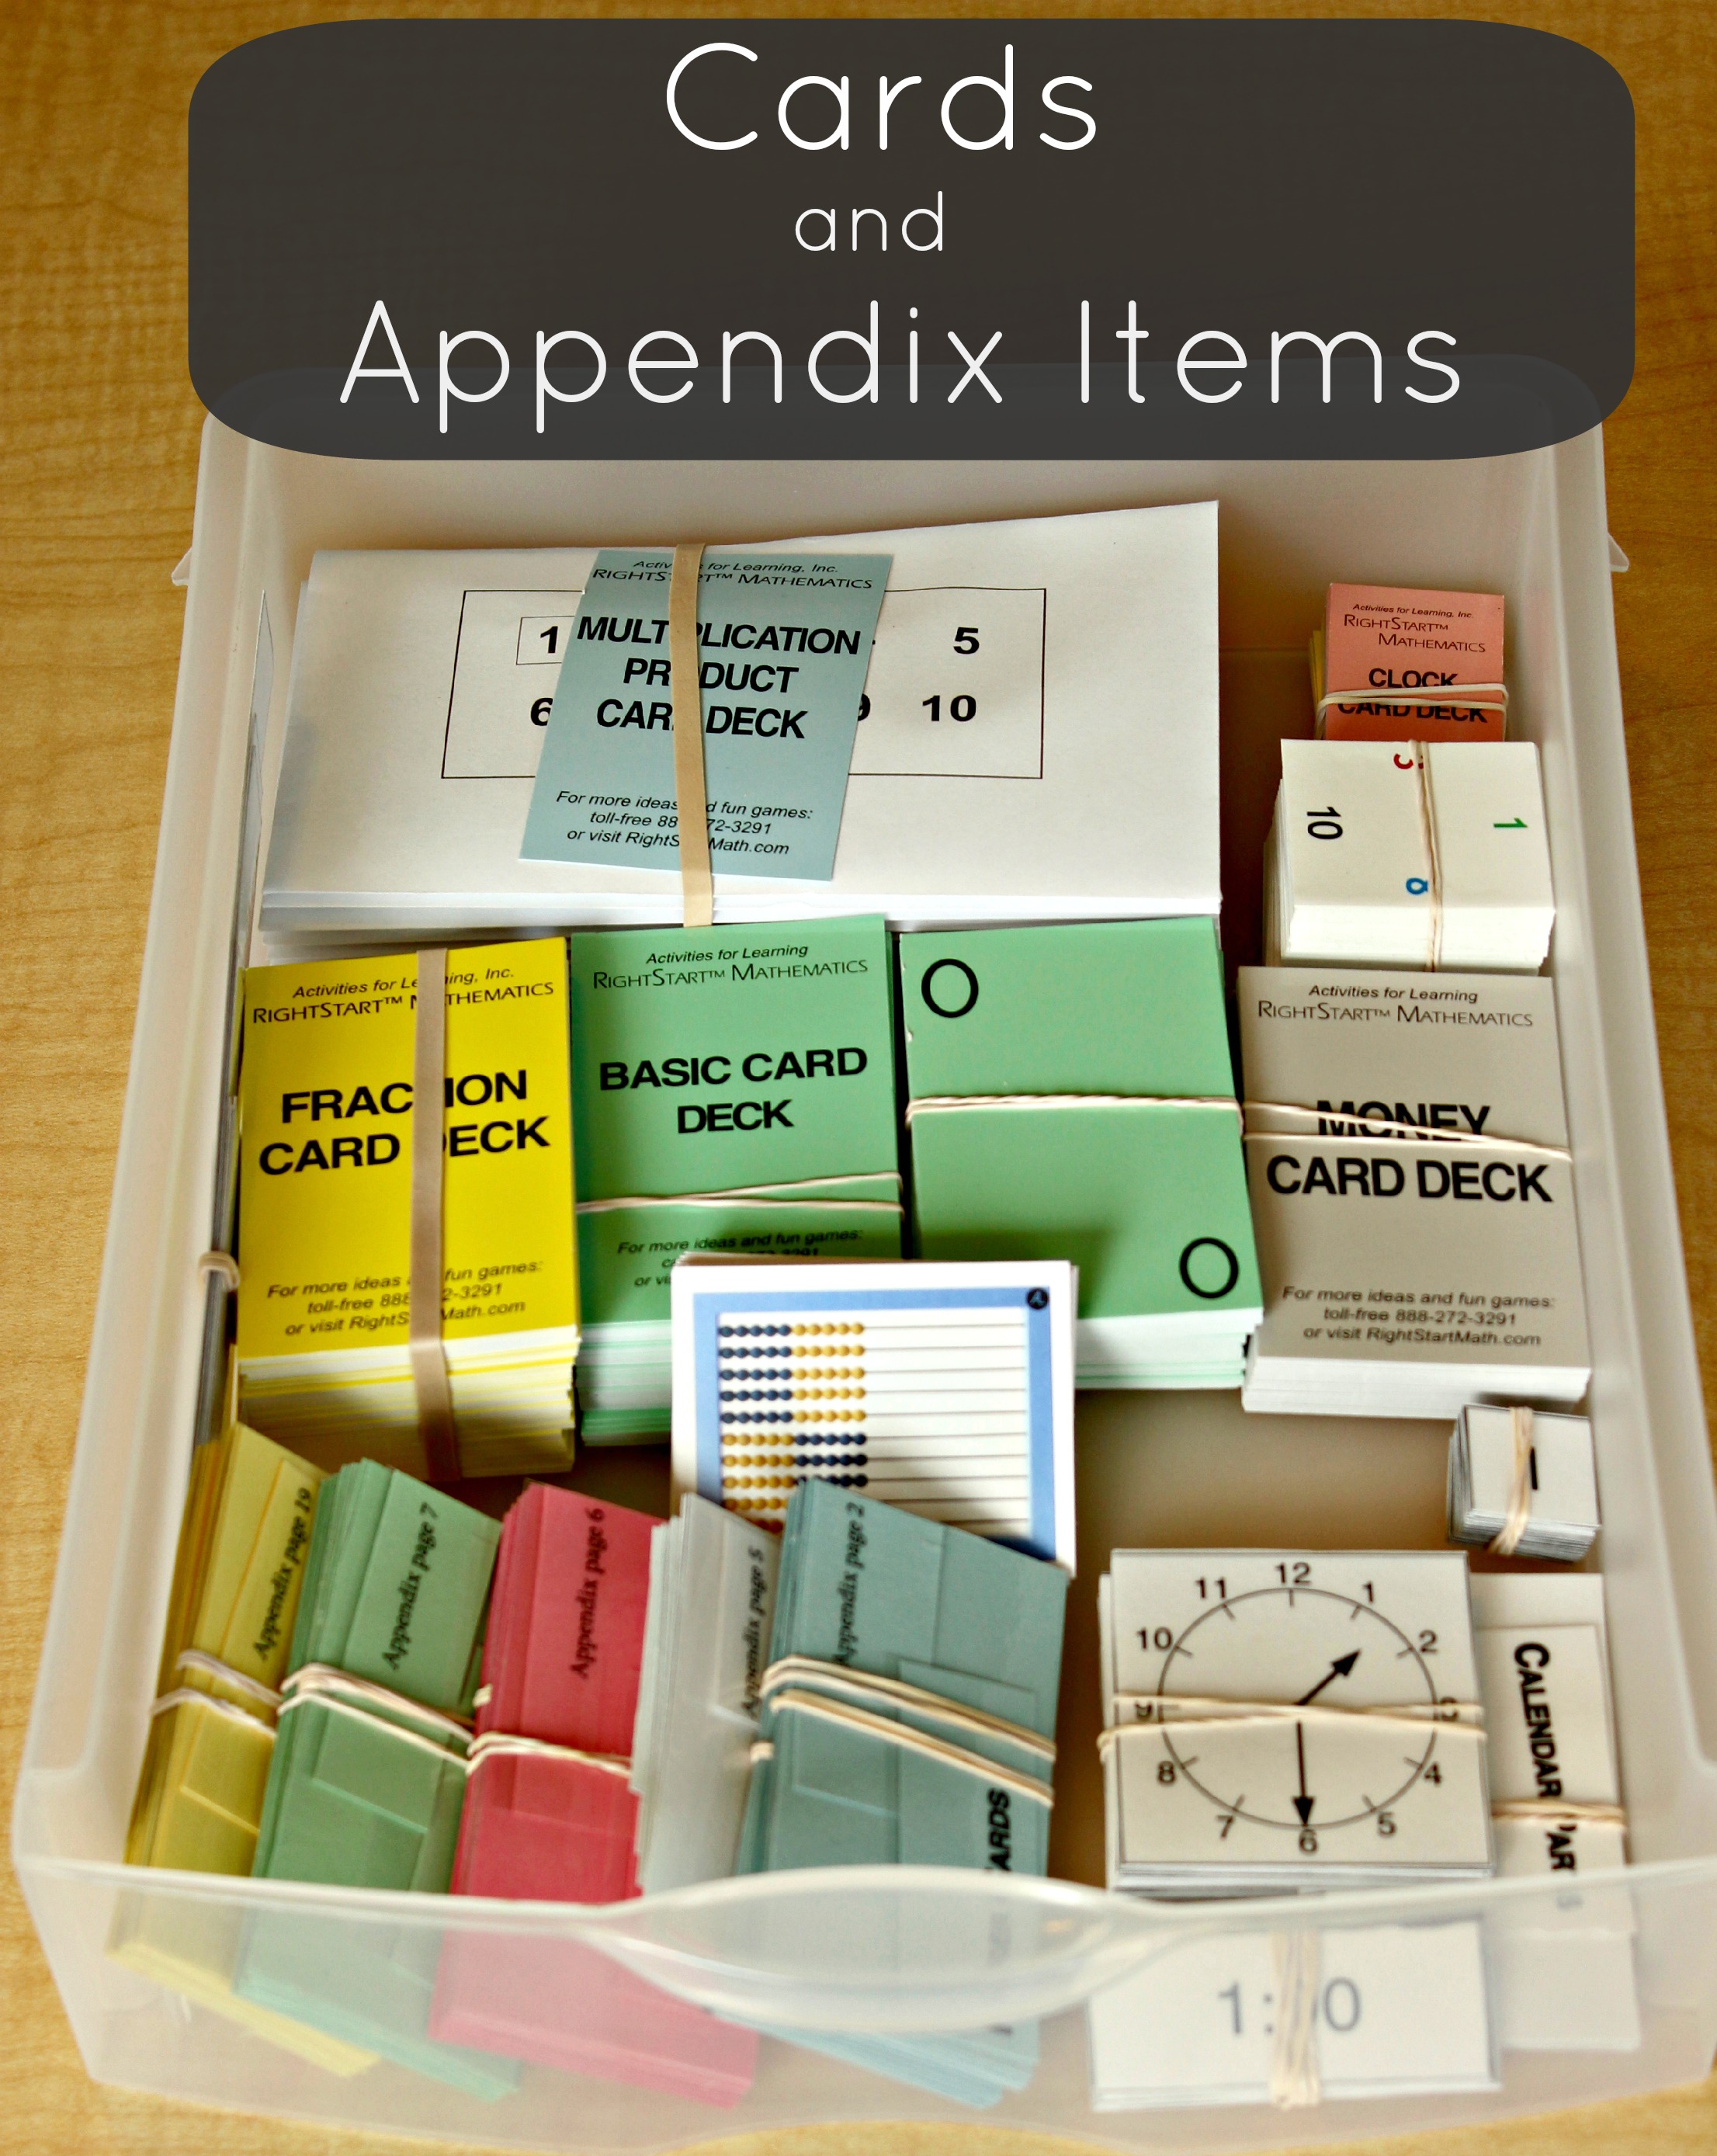
Again, everything is in clear view. This is especially helpful when looking for a particular stack of cards. I went ahead and laminated and cut out everything in the appendix. Each appendix activity is bound with a rubber band and includes a label and the page number (I just cut out the title and page number from the top of the appendix page). It’s nice to have everything prepped and organized.
Now onto the bottom set of drawers in the larger, 14×14 size.
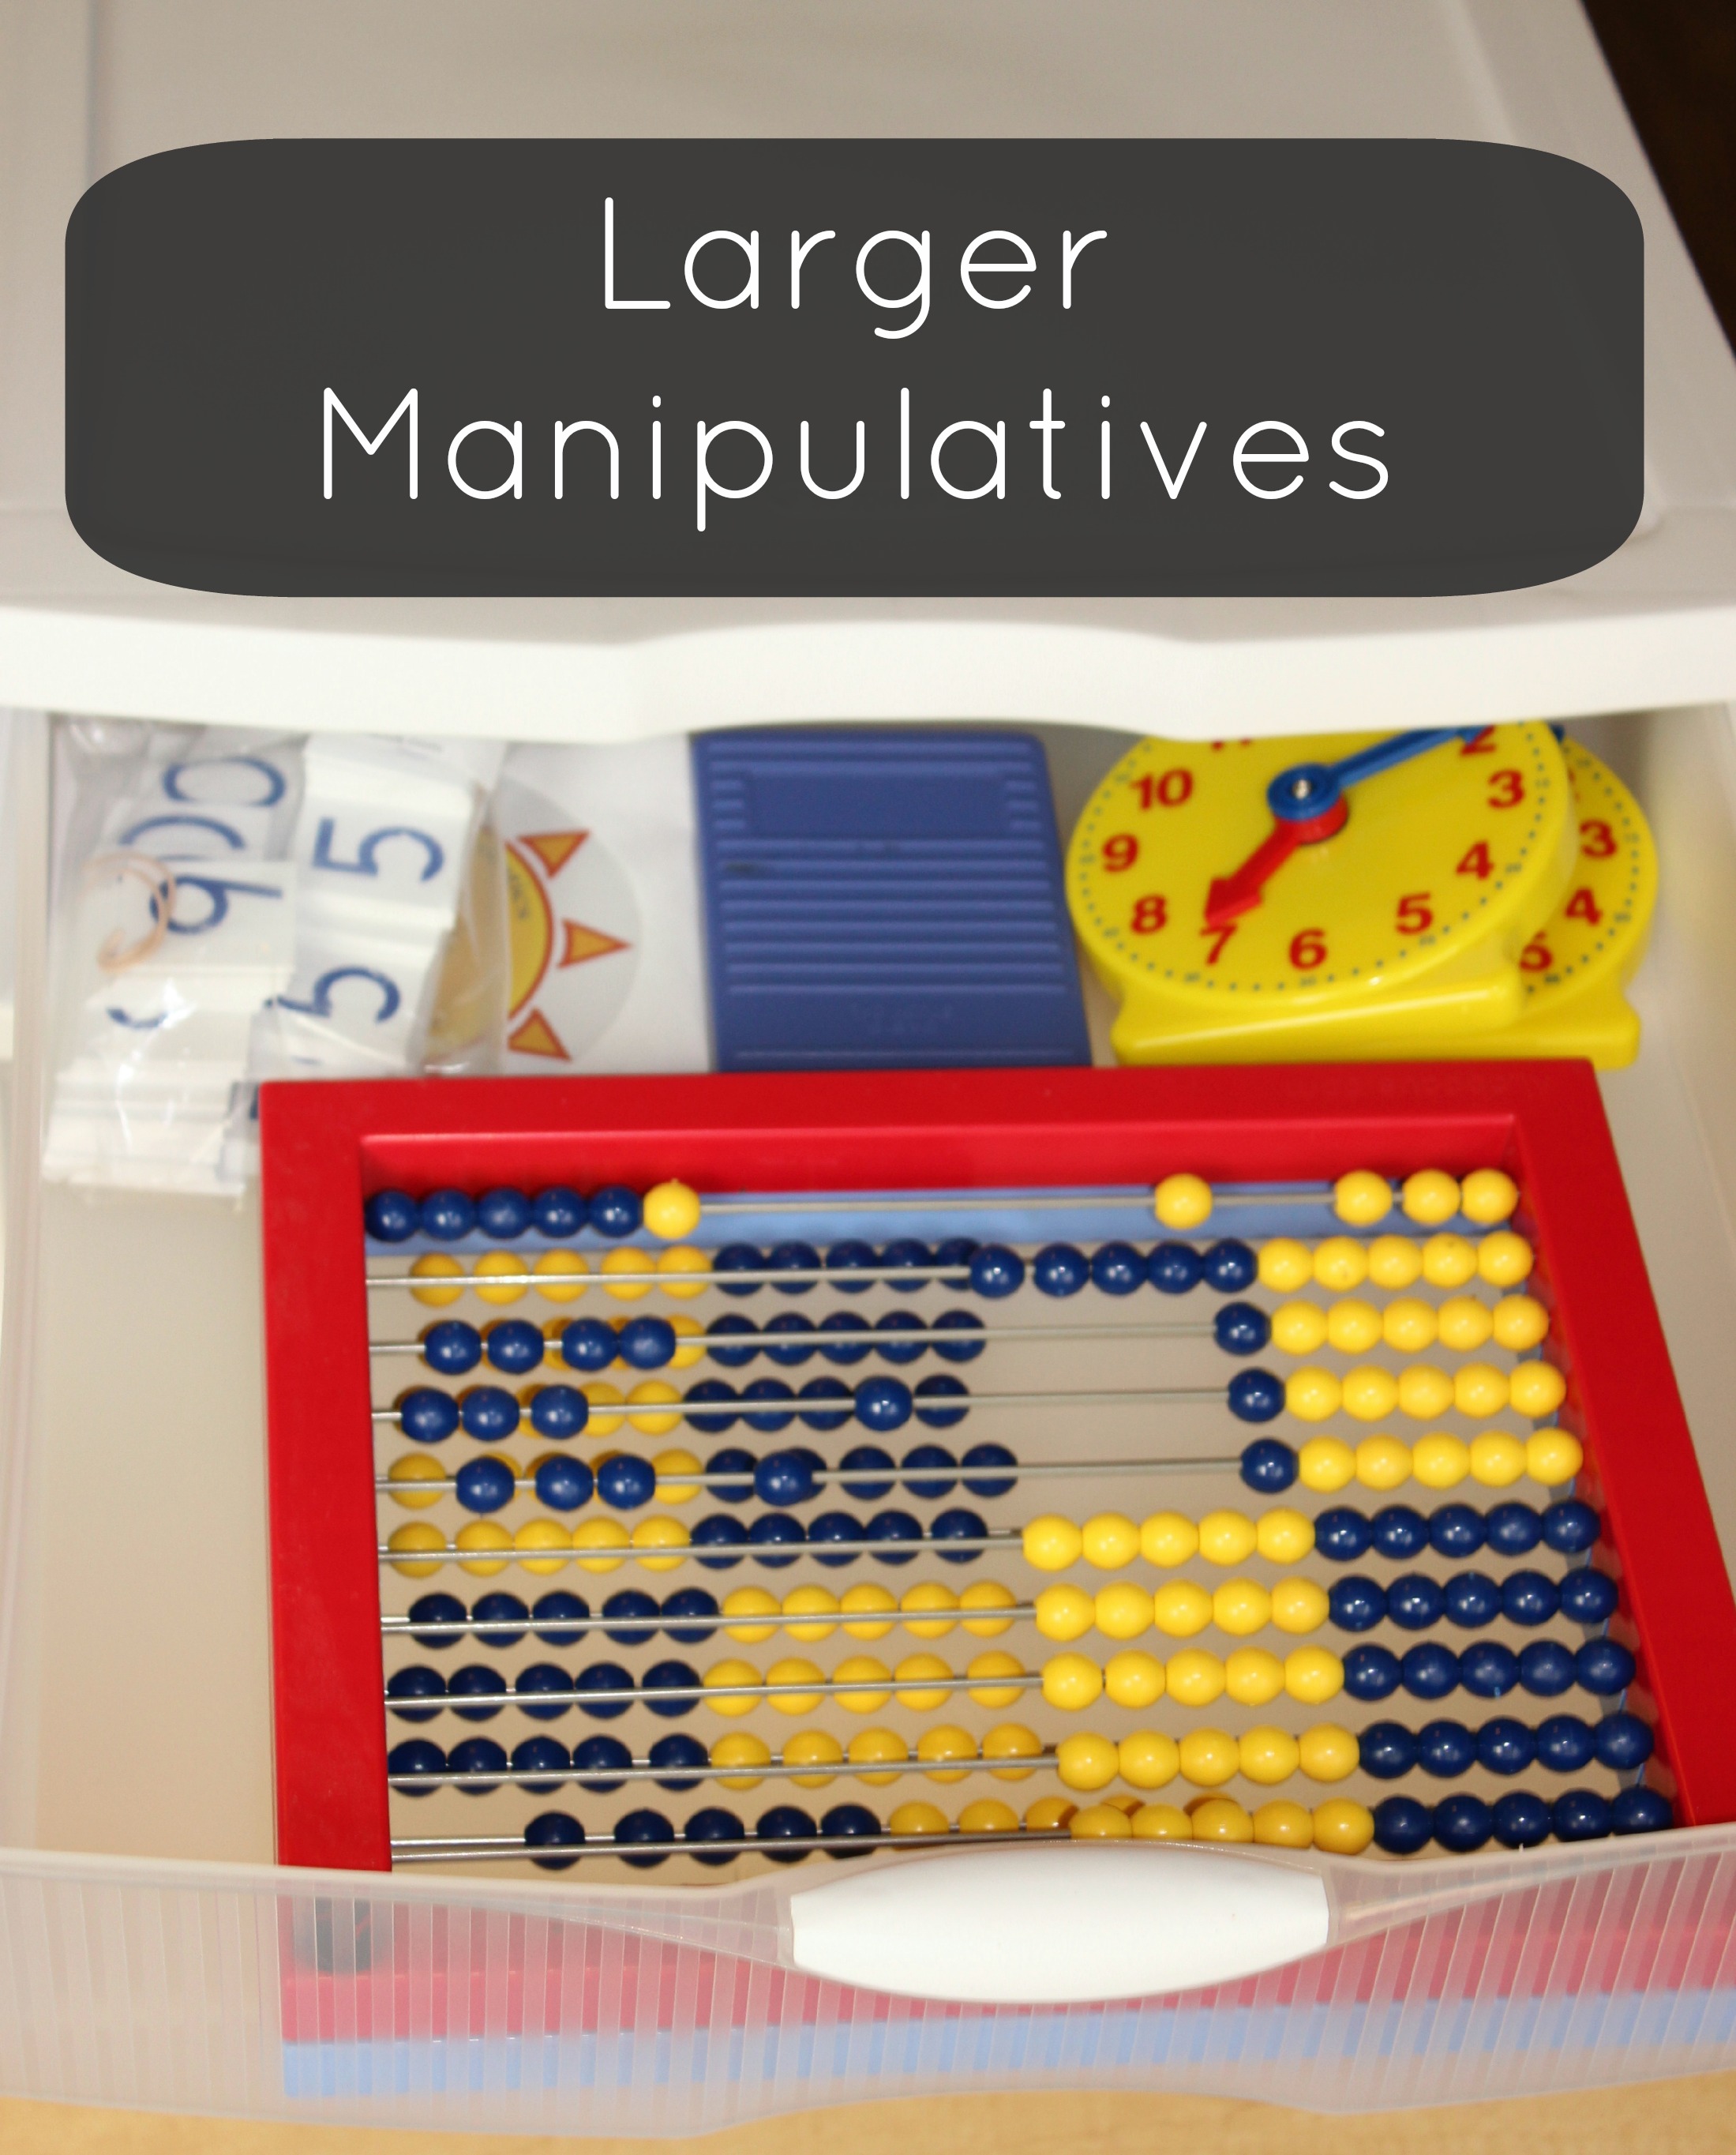
I store many of our bulkier items in this drawer. I am using the program with two of my children together, so we have two abacuses and two clocks.
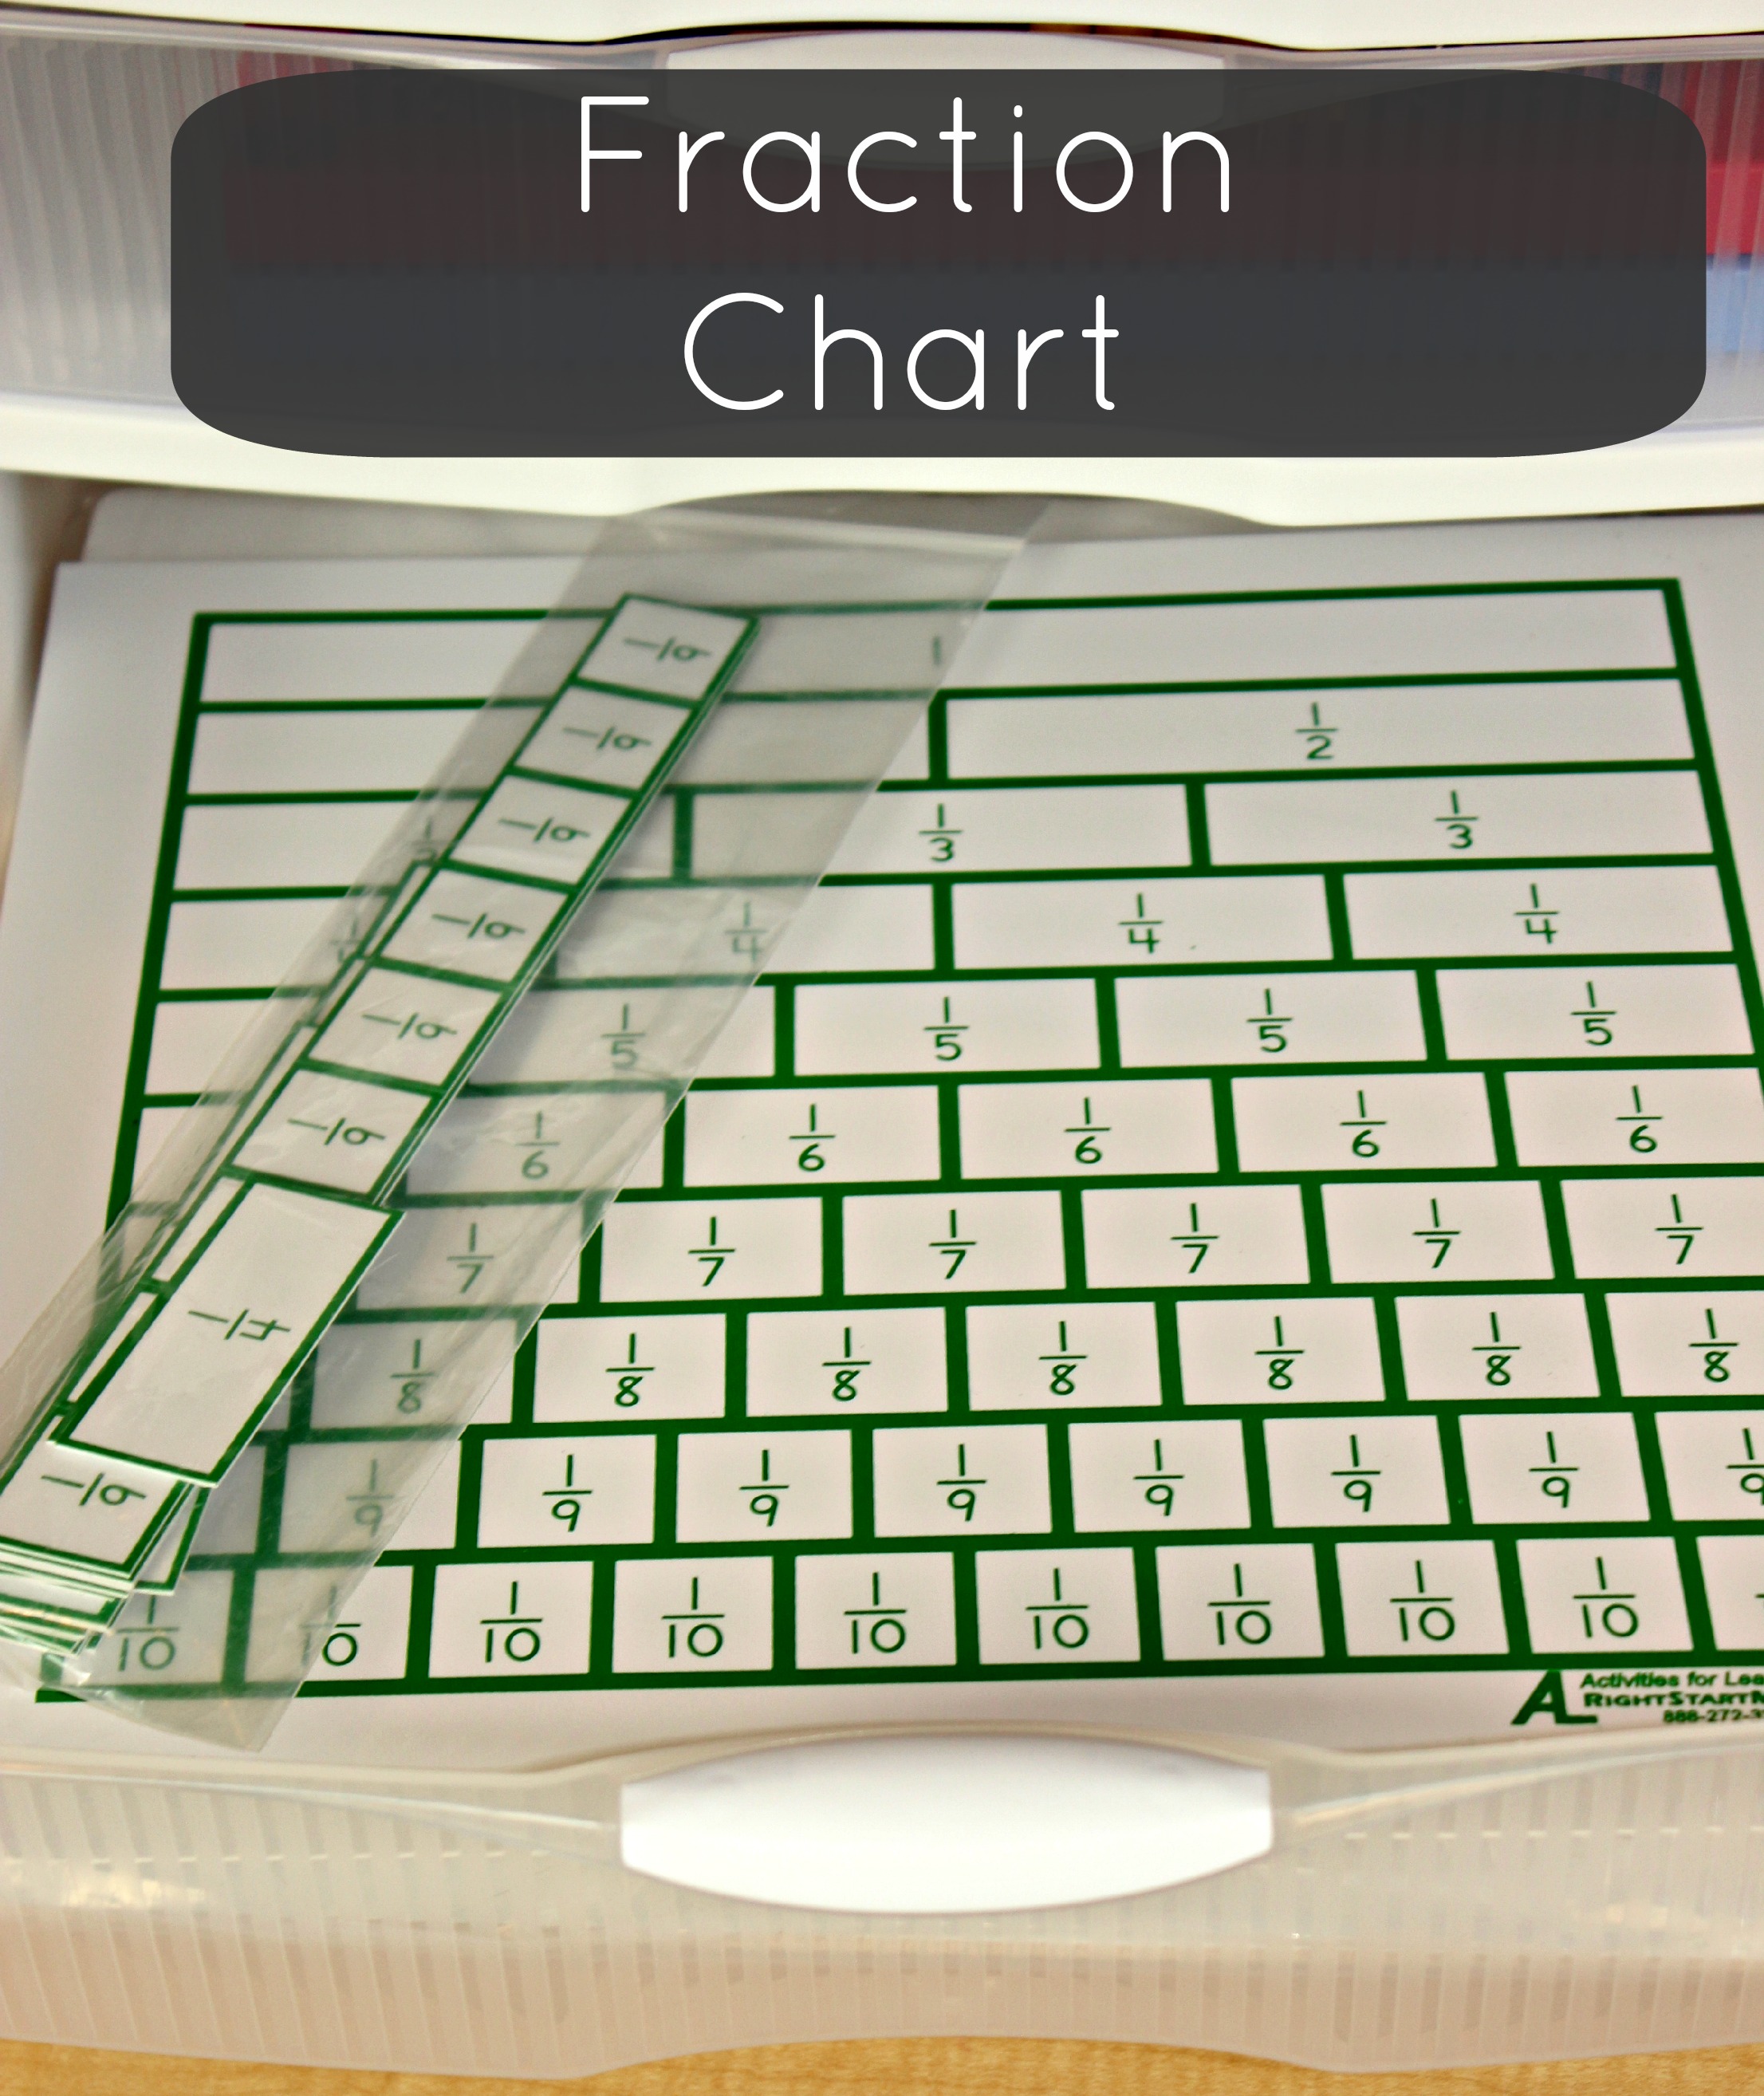
This organizer is designed to accommodate larger (12×12) scrapbook paper and is just the right size for the fraction chart. I also store the drawing board set under the chart. We won’t need it for a while (used in a future level), so it hides nicely under the chart until we are ready for it.
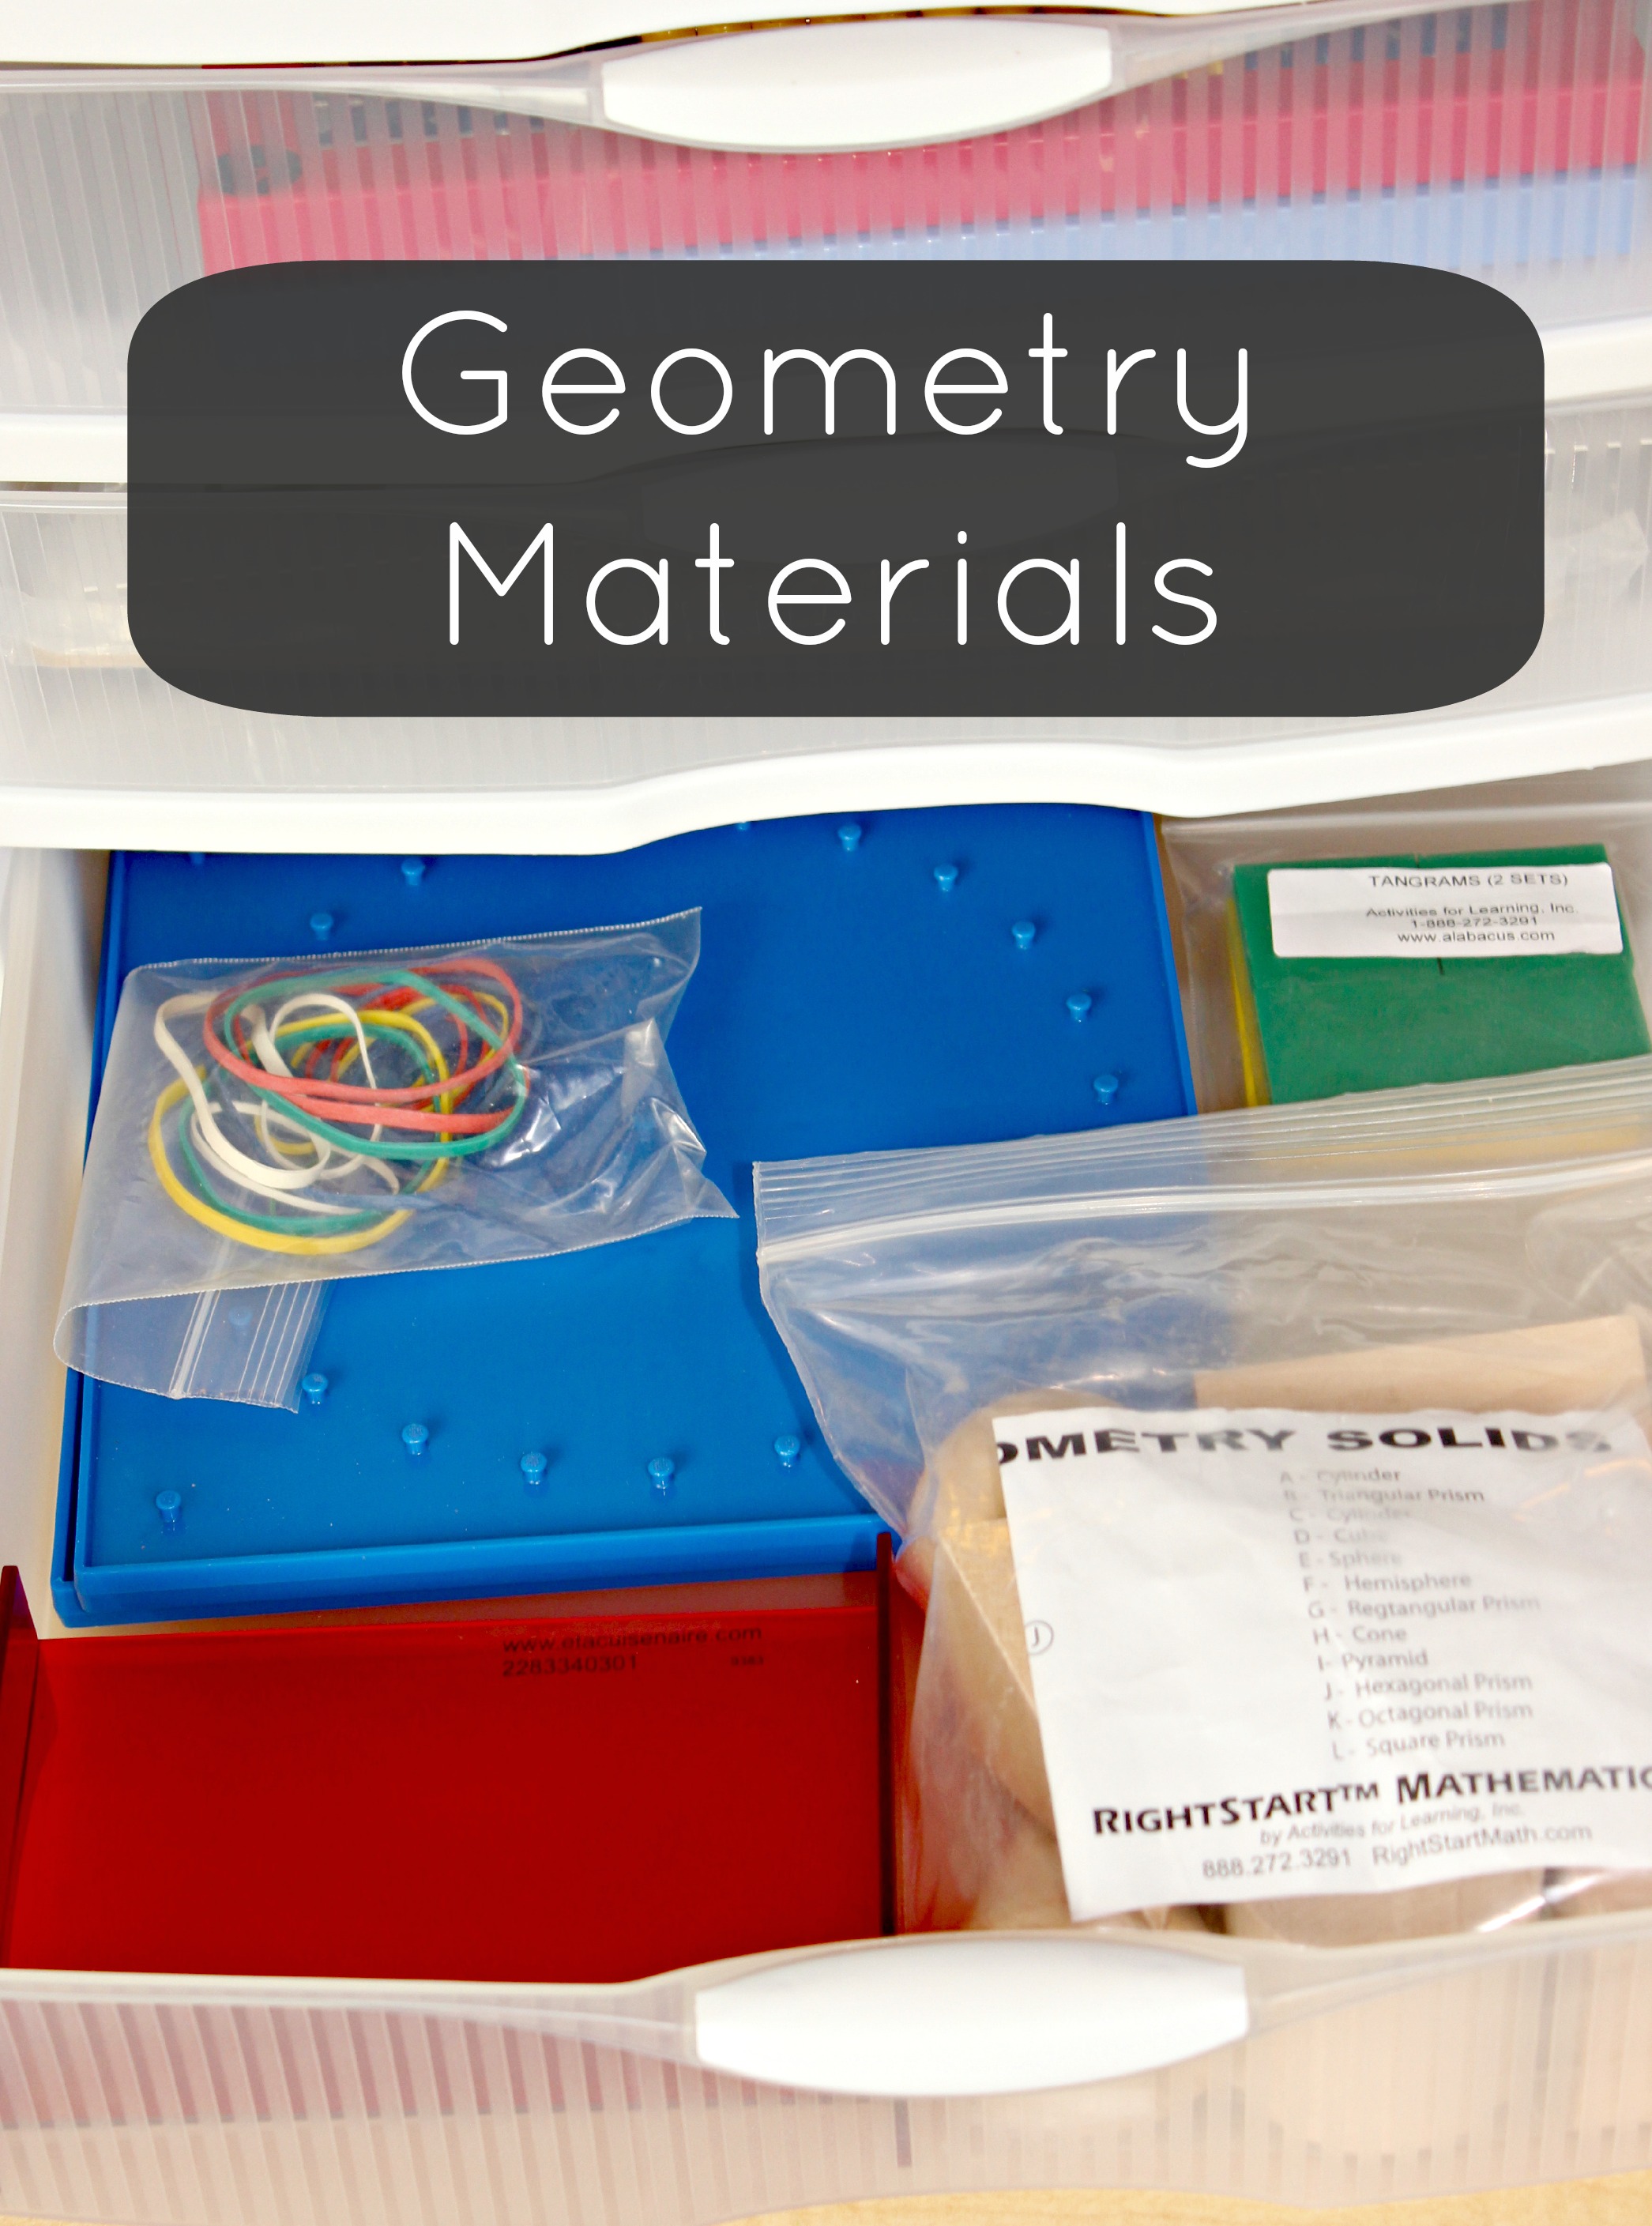 The drawers don’t come out of the larger organizer, so it was tough to get a good pic of the contents of this drawer. Inside are our geoboards, tanagrams, geometry reflector, and the geometry solids.
Now that I have everything organized this way, it is so simple to pull together materials for a lesson! It really makes a huge difference.
Tanya is a homeschooling mom of three who is passionate about hands-on learning. She blogs at Finding the Teachable Moments about unit studies, learning through play, and activities for preschoolers and early elementary aged kiddos. Follow along with her on Pinterest, Facebook, Twitter, and Google+.
Join 40,000+ Other Awesome People
Subscribe to the Real Life at Home weekly newsletter to get our latest content, exclusive free printables, learning activities, and ideas for celebrating with your kids all year
I love your organization. We did not get the scale and I wish I had had one to do the adding lessons – it’s a great visual for kids to see the balance!
I LOVE RightStart Math and I LOVE organization, therefore I LOVED this post 😉 I have my manipulatives in drawers as well, but seeing this I think I could probably sort them out and organize them a little better! Thanks for sharing 🙂