advertisement
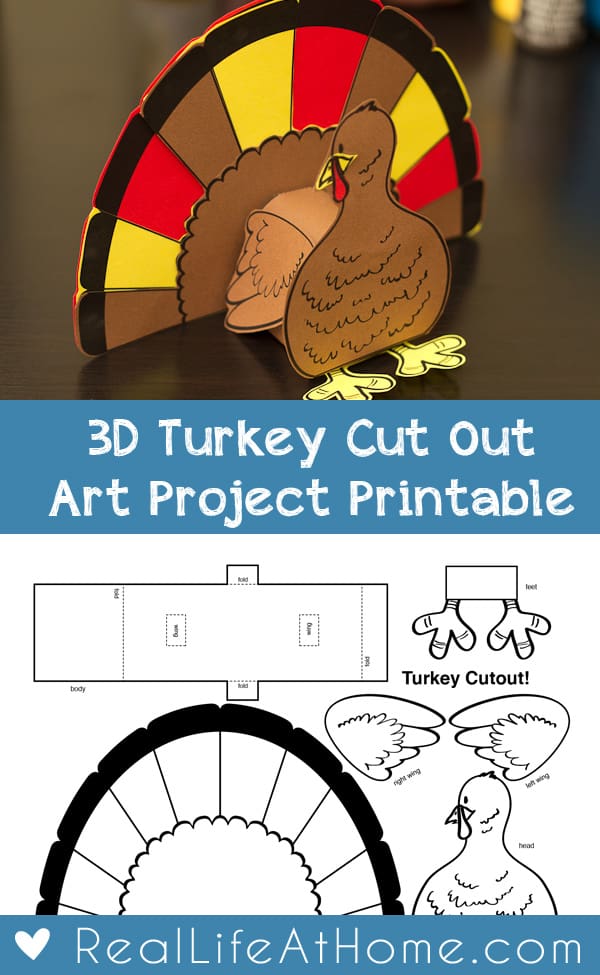
3D Turkey Cutout Downloadable Art Project is a guest post from Rob @ Art for Kids Hub!
There’s a lot of free turkey cutout ideas on the internet, but I couldn’t find any that were 3d. So, I decided to make one. I tried to keep this super simple for little kids, but still fun for the “older kid.” Shhhh, I won’t tell anyone if you put one together also.
advertisement
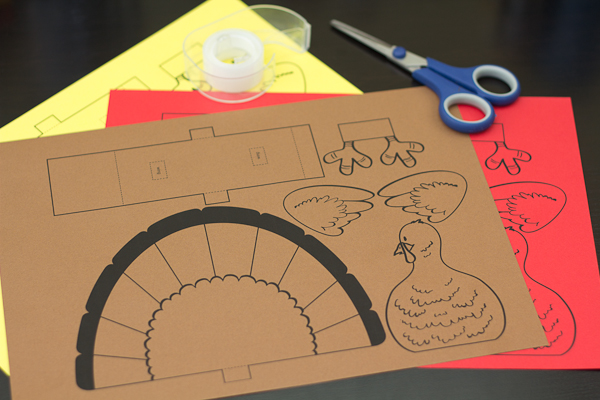
Materials
- Printed turkey cutout
- Tape or glue
- Scissors
- Crayons, colored pencils, or markers
Turkey Cutout Step By Step
1. Download and print the turkey cutout. I made a couple prints on different colors, so I could cutout the appropriate parts in their respective color. But, to keep things much more simple for kids just use regular white paper, and let them color it before cutting out.
2. Cut out all the parts of the turkey.
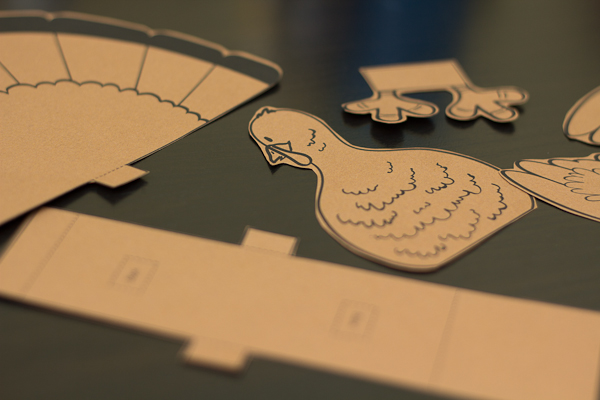
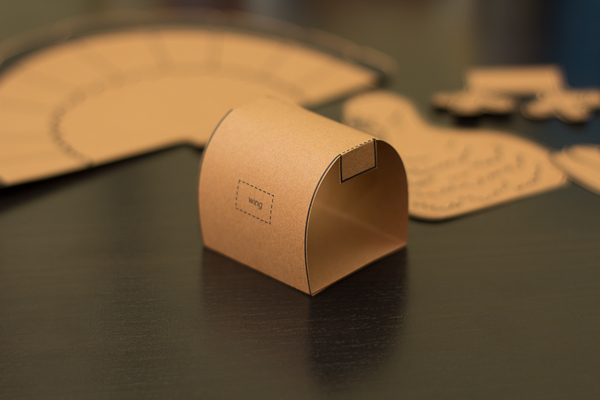
3. First assemble the body shape, be sure to fold on the dotted lines.
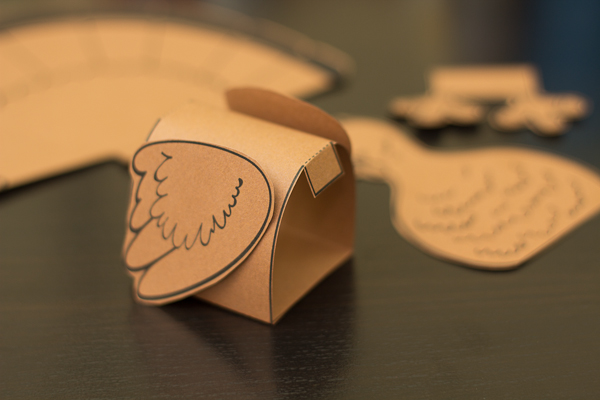
4. Next tape or glue the wings to each side of the body.
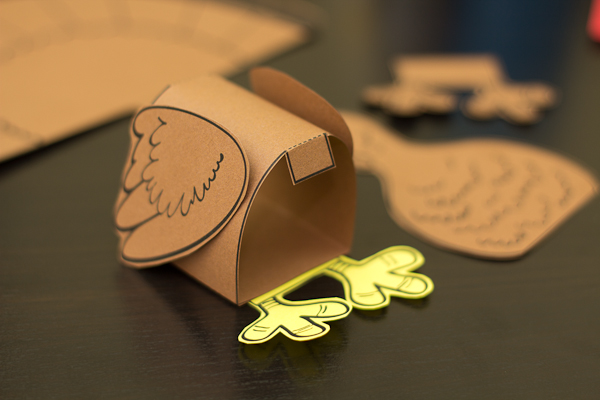
5. Glue or tape feet to the bottom of the body piece.
6. Next attach the head piece to the body. I left the bottom of the head piece free, making it easier to attach the tail in the next step.
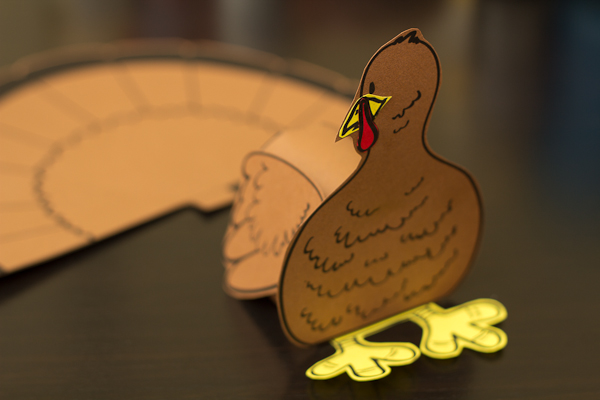
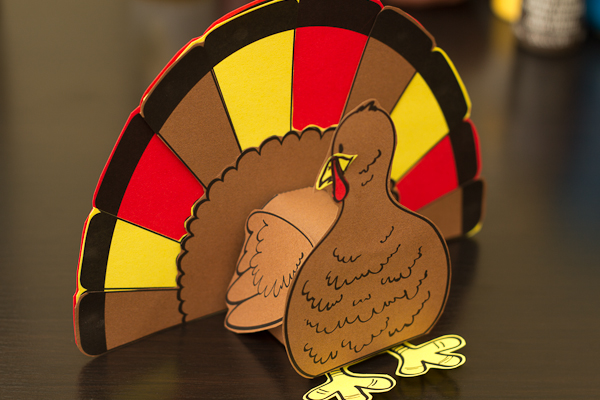
7. Last, add the tail. I layered the tail with three copies to make it more colorful. Again, for a much easier project simply let your kids color a white tail with crayons or markers.

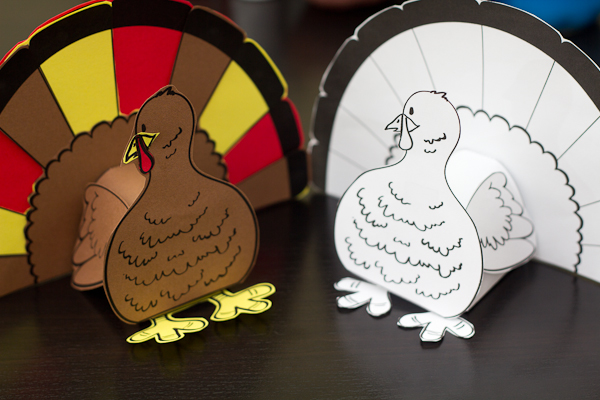
That’s it! This last picture shows the turkey in plain white, it’s still pretty fun, right? Let your kids go nuts and color it as crazy as they want!
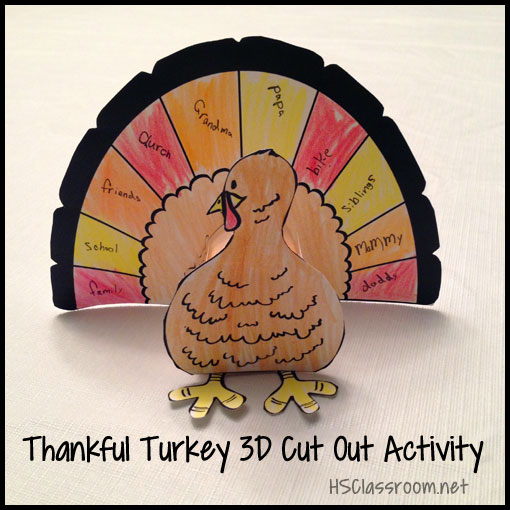
Here’s a variation on this project when using white paper – a 3D Thankful Turkey Project, where kids can write about things they are thankful for.
Did your kids like this activity? They may also like How To Draw A Turkey, and How To Finger Paint A Turkey over at Art for Kids!
Download and Print
To download and print this turkey cutout, click the image below then right click to save.

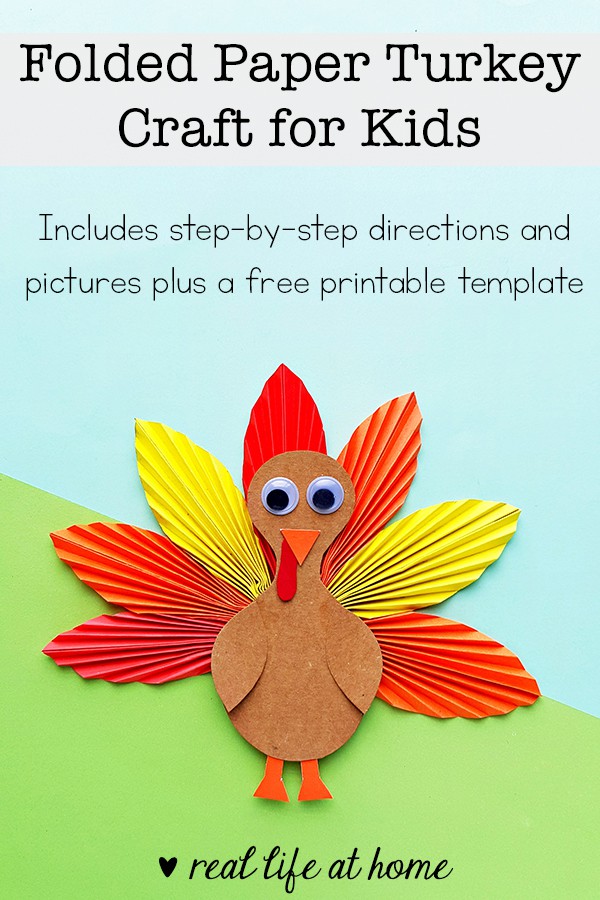
Want to try another turkey craft?
Try out our folded paper turkey craft with step-by-step directions, pictures, and a free printable template.
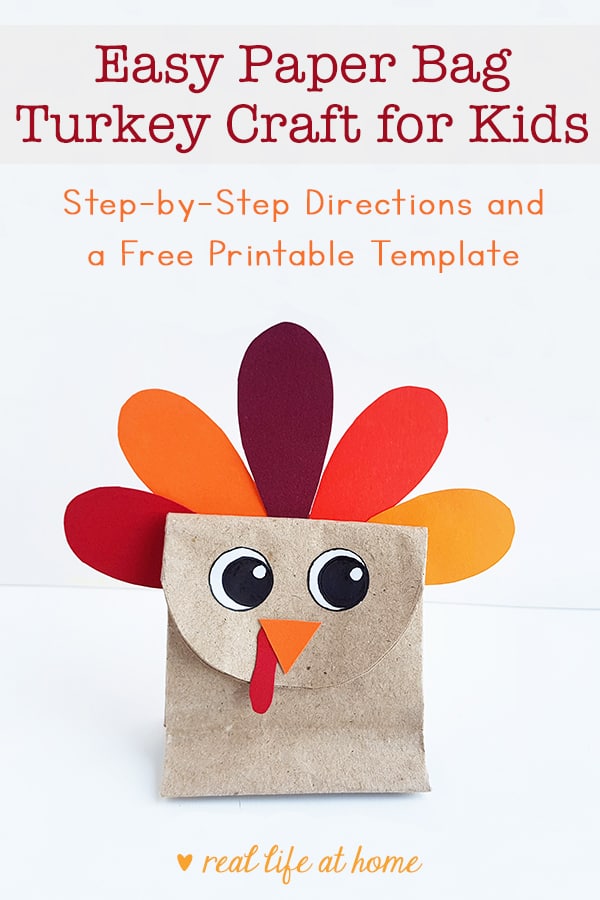
Or you can make this Easy Paper Bag Turkey that also has step-by-step directions, pictures, and a free printable template.
Other Posts and Printables You’ll Love:
This post was originally published on November 16, 2012. It was last updated on November 3, 2016.
Disclosure: This post may contain affiliate links. They don’t change the price you pay, and the site may receive a small compensation when you shop through the links. Bonus!
Join 40,000+ Other Awesome People
Subscribe to the Real Life at Home weekly newsletter to get our latest content, exclusive free printables, learning activities, and ideas for celebrating with your kids all year
what a fun art project!
Thanks, glad you enjoyed it!
Cute!
Thanks Joyce! Happy Thanksgiving!
Thank you for sharing this! I appreciate the black and white version. I am going to have my students in CCD class each make one. They can write a couple of things they are thankful for on the feathers and then decorate it. Their family members can add additional thoughts of gratitude on the feathers at home and use it as part of their family Thanksgiving decorations or centerpiece!
Love that you’re doing this with your CCD class, Laura! Did you come through the link on the Activities for Catholic Families in November printable?
I hope you guys have a great time with it! 🙂
The downloadable seems to have been deleted… Can you upload it again and fix the link?
Thanks for the heads up, Shan! We just moved hosting companies this weekend and it looks like some folders of pictures got left behind. My awesome tech guy got it all fixed up this afternoon and the turkey project is back. 🙂
Thank you! This is PERFECT for my 4H kids!
Hi! Thank you so much I loved it. This is a simple art activity but is really adorable! I had to paint it with a photoshop program since I don’t have colored papers.
did you use brown, red and yellow copy paper or cardstock? thanks.
We used copy paper, not cardstock, but cardstock could work as well. 🙂
Oh, but if the question was specifically about the colors – yes. Although we’ve also made this project all in black and white and then let the kids color it in.