advertisement
The following post is from Melissa of The Cork Board:
advertisement
The digital age has made photography so much more accessible to the general public. I find parents are usually just as interested as figuring out what their camera can do as students. Having a child who wants to learn about photography is the perfect excuse to become a student yourself. Plus you get the perk of some great bonding time.
Get a camera.
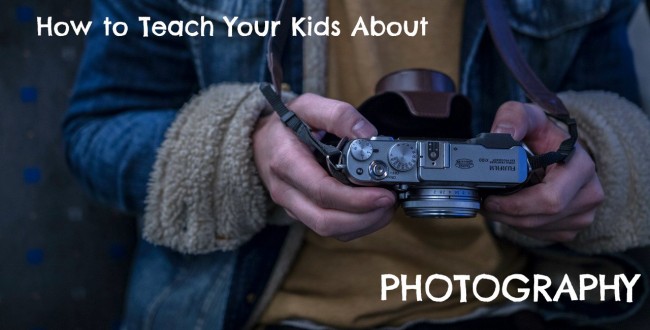
If your student is pretty serious about photography, you will want to invest in a digital single lens reflex (DSLR) camera. Entry-level is totally acceptable as is finding one used. A point and shoot will do in a pinch, especially if it has the ability to do manual settings. To read about the difference between a DSLR and point and shoot, click here.
Learn the terms.
Depending on your learning style, you can learn these through internet articles, online classes, library books, and/or online videos. Basic light and exposure terms are shutter speed, aperture, and ISO or film speed. Depth of field, rule of thirds, leading lines, and frame within a frame all refer to composition techniques.
Get to know your camera.
Once you’ve mastered the basic terms, you can make more sense of your camera’s owner’s manual. This can tell you how to use the light meter and adjust the shutter speed, aperture, ISO, focus points, and metering points for your particular camera. Even some point and shoot cameras allow you to manually control these settings.
Practice! Practice! Practice!
It can be very overwhelming to think about so many things when taking one photo but lots of practice will make it all second nature. When you start out, practice one skill and then add on one at a time. You may want to let your camera choose your exposure settings while you just practice composition techniques. Alternatively, you can practice mastering exposure while not worrying about the content of your image.
Explore editing.
The age of digital has also opened up an entire world of editing capabilities. While every photographer should aim to take the best possible straight out of camera (SOC) shot, it’s nice to know how to touch up (or just plain be creative with) a photo. While Adobe products are the industry standard, they are expensive. I recommend learning how to use GIMP, a powerful, free photo editing program. This is actually the software I use for my photography business.
Here are some resources for you as you start your visual adventure:
CreativeLIVE. Courses in many areas of the arts. Courses can be watched live for free or purchased to be watched later.
Digital Photography School. This page has links to many articles designed to teach beginners.
PhotographyCourse.Net. Dozens of self-paced free photography courses.
iheartfaces. If you enjoy taking pictures of people, this is my favorite blog/website/community for education, inspiration, and critiquing.
Be sure to come back and share links to any blogs or Instagram feeds that showcase what you’re learning!
Photo courtesy of Kristian Karlsson | Unsplash.com
 |
Melissa is a photography-dabbling, primal-eating, housework-hating, triathlon-trying, homeschooling, black belt-seeking, grace-needing mom to 6 kids ages to 16. Passionate about orphan and widow care, her family co-founded The Grafted and Cafe Tesfa. She blogs about adoption, homeschooling, and life at The Cork Board. You can keep up with Melissa on Facebook, Pinterest, Flickr and Twitter. |
Join 40,000+ Other Awesome People
Subscribe to the Real Life at Home weekly newsletter to get our latest content, exclusive free printables, learning activities, and ideas for celebrating with your kids all year
Leave a Reply